Affiliate Disclosure: Some of the links in this post are affiliate links, which means I may earn a commission if you click on them and make a purchase. This comes at no extra cost to you. Your support through these links helps me continue to create content for you. Thank you!
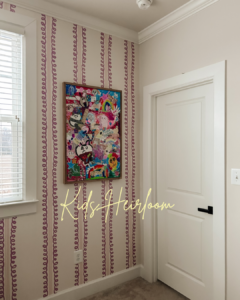
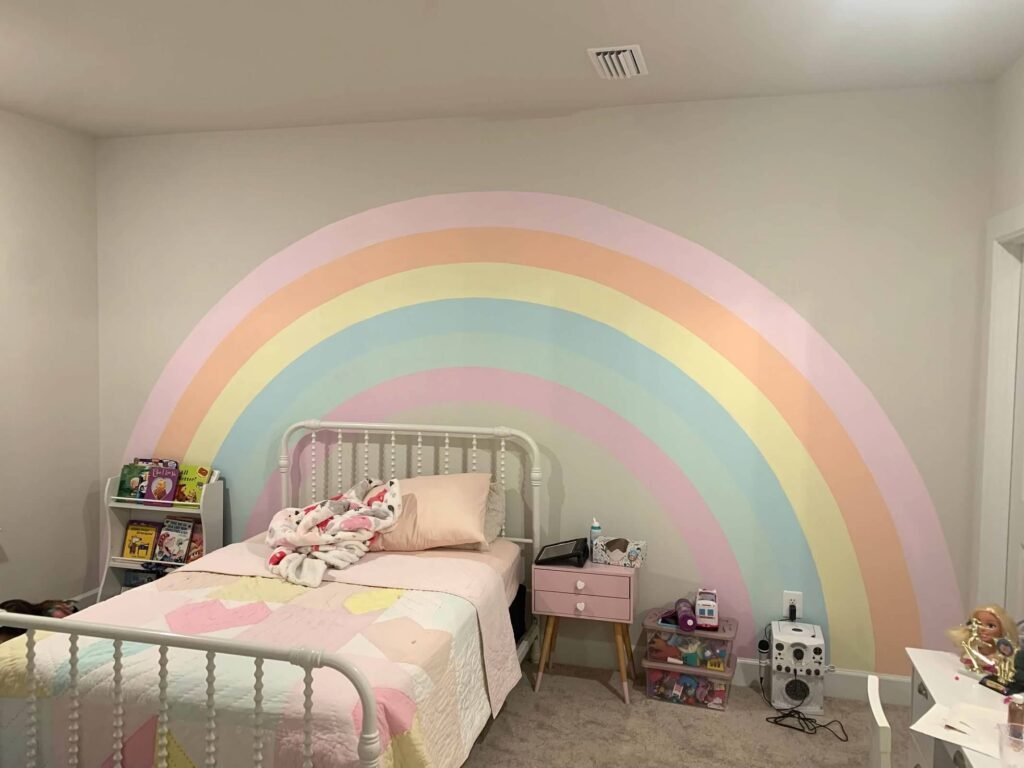
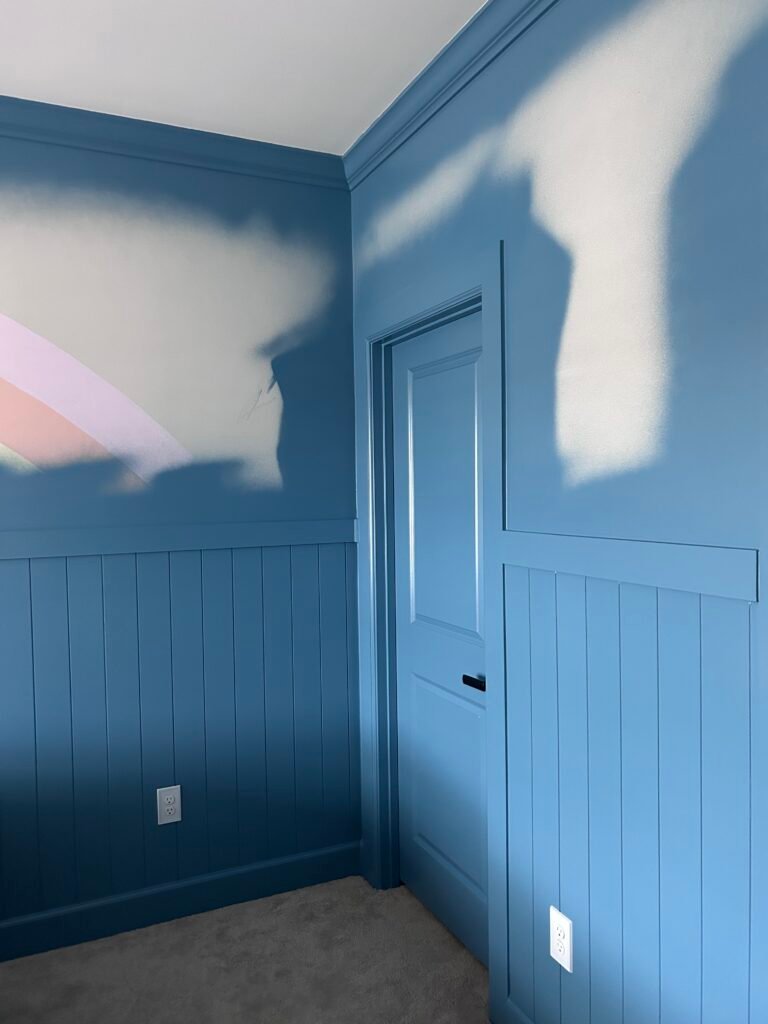
When we moved into our new home in September 2022, the first thing I focused on was ensuring that my children’s bedrooms were cozy and familiar. It was my way of helping them transition smoothly into this beautiful new space. My daughter, Vivian, who had just turned 5 years old, had a clear vision for her room: she wanted a rainbow on her wall. And so, I painted one. A big, beautiful, hand-painted rainbow that she adored at the time.
Fast forward a bit, and Vivian had outgrown her beloved rainbow. She told me, “Mom, that’s for little girls, and I’m a big girl now!” So, it was time for a room refresh and I couldn’t have been more excited to create a space that truly reflected her growing personality.
Planning the Transformation
We knew the makeover would need to be something special. After all, this was a big milestone for Vivian, and it was important to make sure she felt like her space was an expression of who she is. We started by hunting for wallpaper that would bring a vibrant yet sophisticated touch to the room.
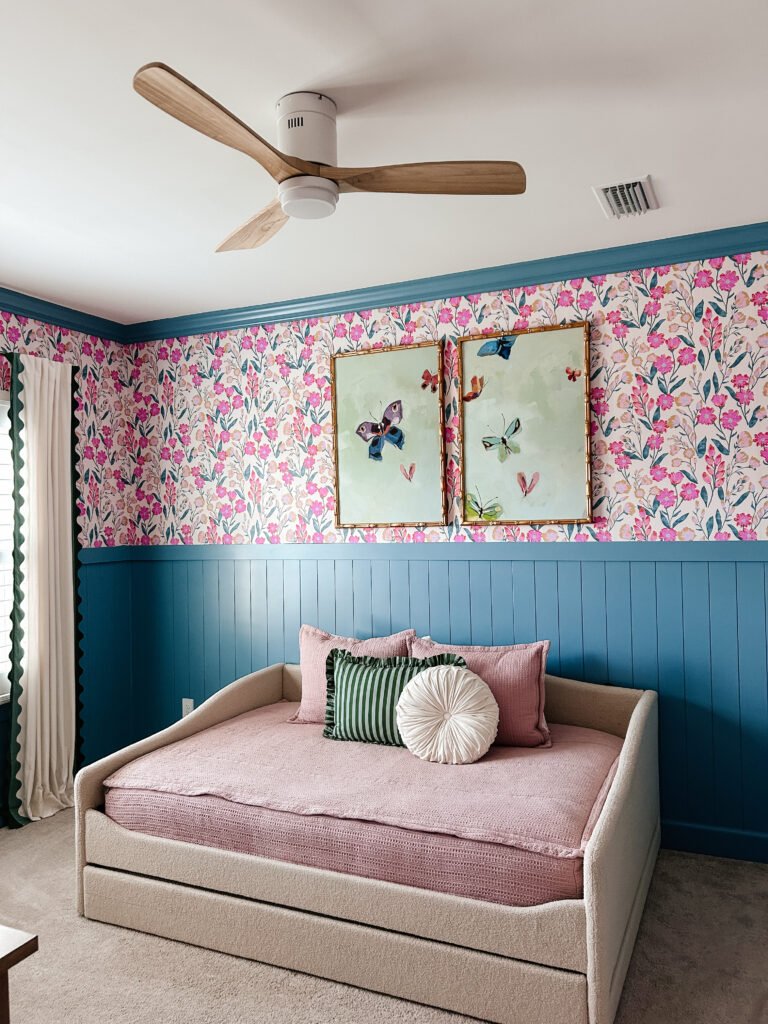
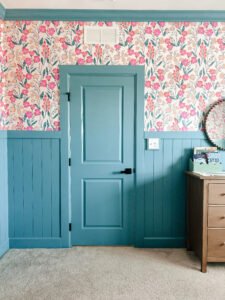
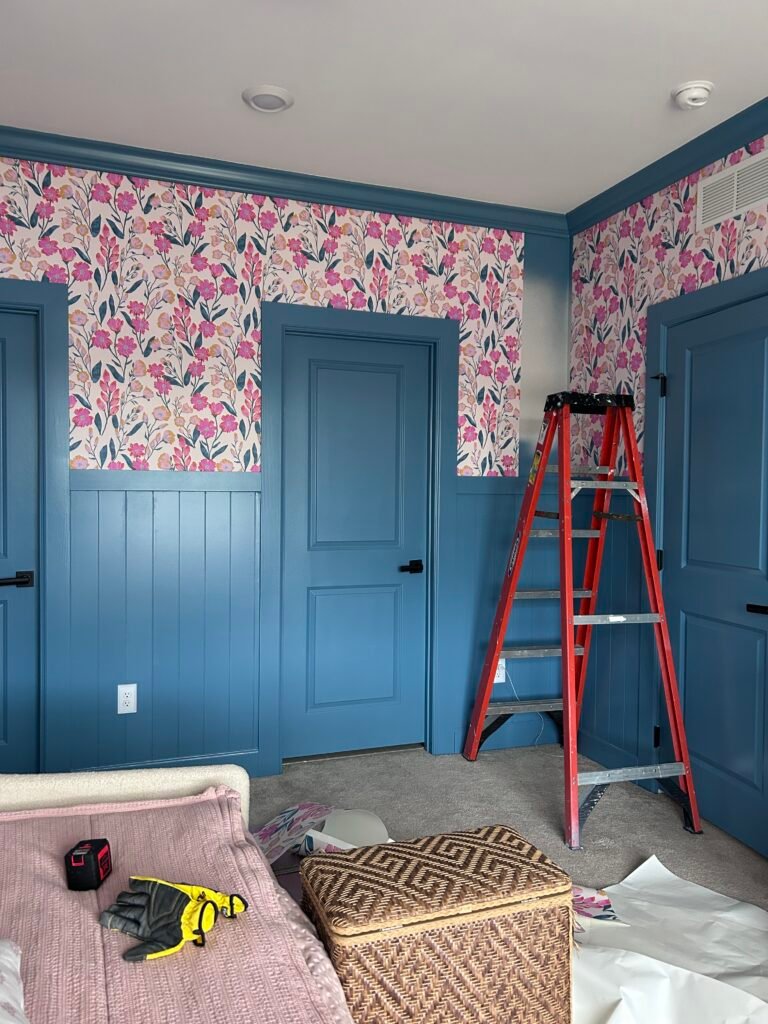
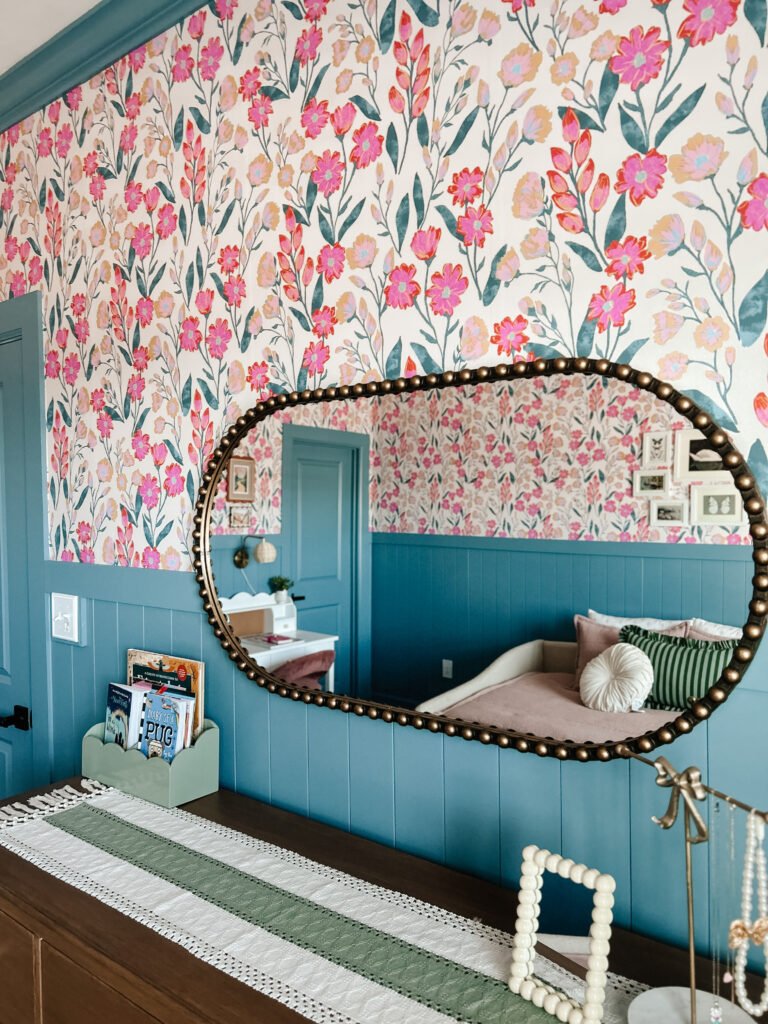
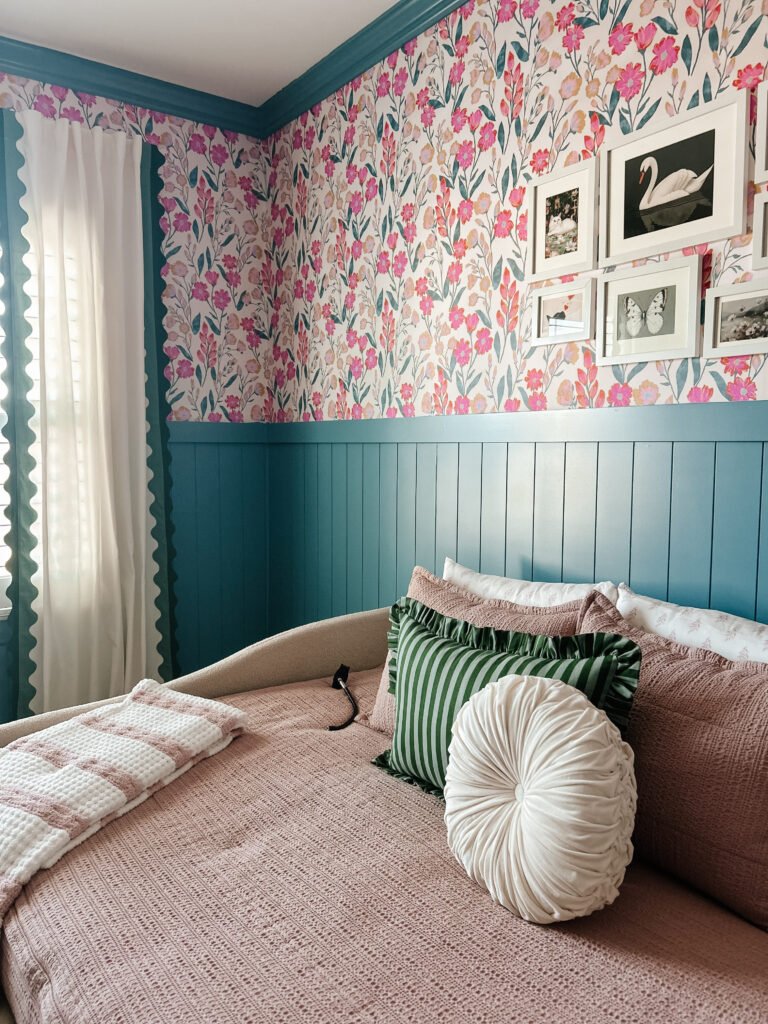
I ordered several samples from Spoonflower, each one unique and beautiful, but nothing quite felt right. That is, until we landed on the Penelope Botanical design. The moment we saw it, we both knew it was perfect. It was all the things; vibrant, full of life, and full of gorgeous hues like pinks, blues, creams, and even pops of orange. It was fresh, fun, and totally “big girl” worthy!
Shiplap Paneling: A Practical and Beautiful Touch
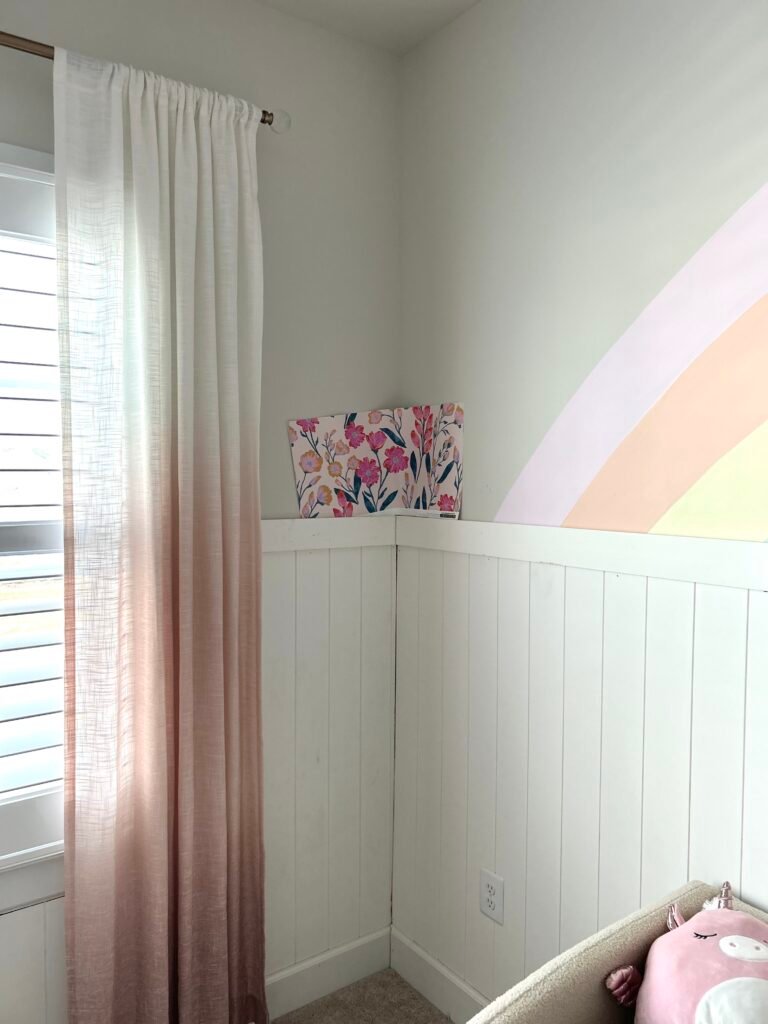
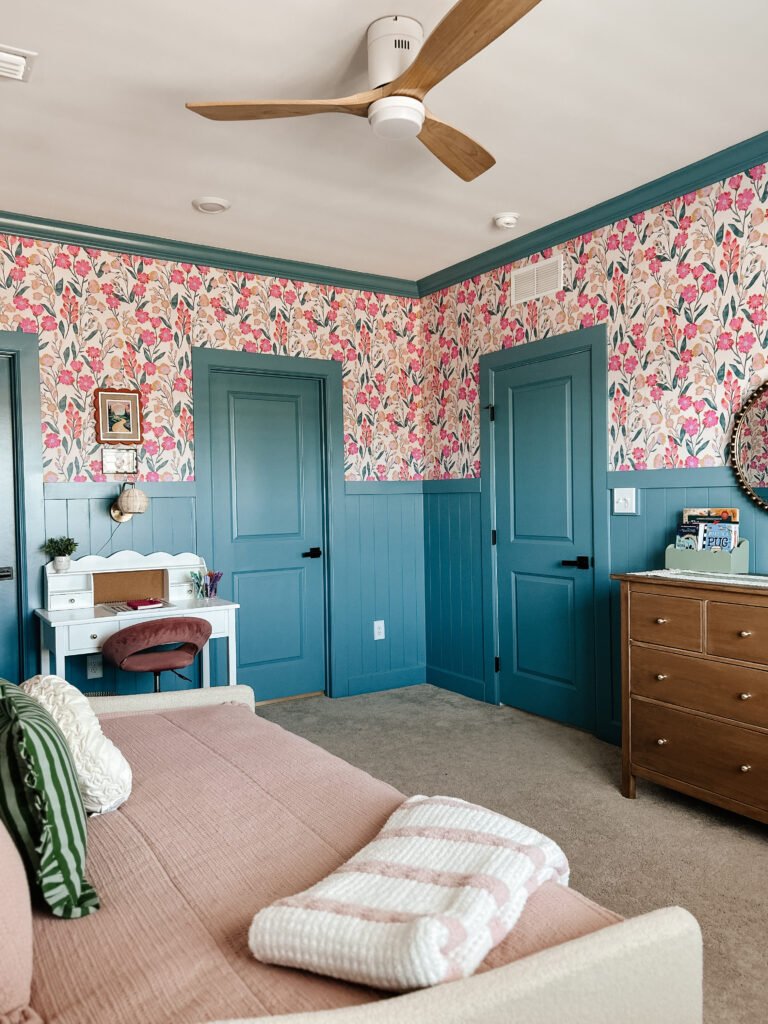
One of the key decisions we made during the redesign was how much of the room to wallpaper. While we loved the Penelope Botanical wallpaper, we didn’t want it overwhelming the room. So, we decided to go with half-wall coverage for the wallpaper, pairing it with shiplap paneling on the bottom half of the wall.
Now, shiplap is a classic choice that adds a timeless, rustic touch, but regular shiplap can be incredibly expensive. Enter the magic of paneling! We opted for high-quality paneling from Home Depot, you can find it here, and you would never guess it wasn’t the real deal. The quality is incredible. It looks like actual shiplap but at a fraction of the cost. The best part? We had it delivered straight to our front door for a minimal delivery charge. These panels are heavy (each one is 4 feet by 8 feet and weighs over 30 pounds), so there was no way I was hauling eight of these panels home myself. The delivery made the process so much easier.
Choosing the Perfect Color Contrast
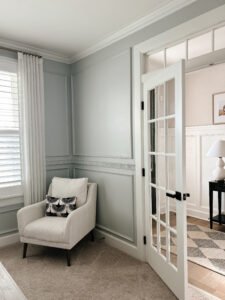
After we selected the wallpaper and hung the paneling, the next step was to choose a paint color for the shiplap paneling that would complement the wallpaper without overpowering it. After several color swatches, we landed on Adonis Blue by Benjamin Moore. This rich, striking shade of blue was a perfect match for the stems and leaves of the wallpaper. They were nearly the exact color! The blue provided a beautiful contrast to the wallpaper, creating balance and depth in the room.
The Perfect Finish: Benjamin Moore’s Advance Line
To paint the paneling, I knew I wanted something that would provide a smooth, even finish with a professional-grade result. That’s when I turned to Benjamin Moore’s Advance Line . A paint I used in my foyer here with amazing results. It has excellent leveling properties, similar to an oil-based paint, which is perfect for achieving that flawless finish. It was the ideal choice for the paneling, giving it a smooth, satin finish that elevates the whole room. If you’re looking for high-quality paint with a smooth, durable finish, I cannot recommend Advance enough. It’s truly a game changer!
Installing the Wallpaper
After I painted the paneling, it was time to tackle the wallpaper here. We went with a peel-and-stick option, which turned out to be a game changer! I was a little nervous at first, but the quality of this wallpaper was incredible. It was so easy to install, and the best part was that if I made a mistake or needed to reposition a panel, I could do it without worrying about the adhesive losing its stickiness. There were a couple of panels I had to remove to reposition, and it never lost its grip, a huge win in my book!
Once the wallpaper was up, I left it to settle overnight. The next day, I went in to check on everything, and I noticed just one small bubble in the entire room. A little pin prick and a gentle press with my spatula flattened it right out, and it was permanently gone! The quality of the peel-and-stick paper truly impressed me, and it made the entire process so much easier and stress-free.
A Touch of Green and Sweet Accents
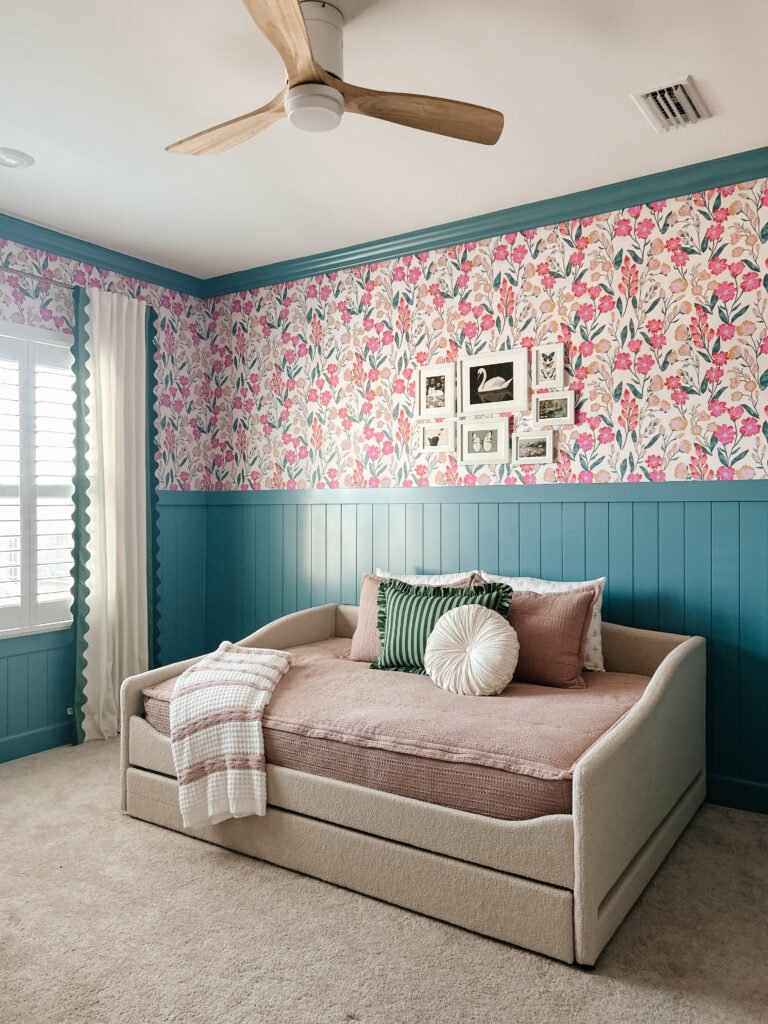
Once the walls were done, it was time to turn our attention to the fun part… decorating! We chose green as the accent color, which I think complements the blues and pinks beautifully. Blue and green are such a calming combination, and the fresh green really helped balance out the bold wallpaper.
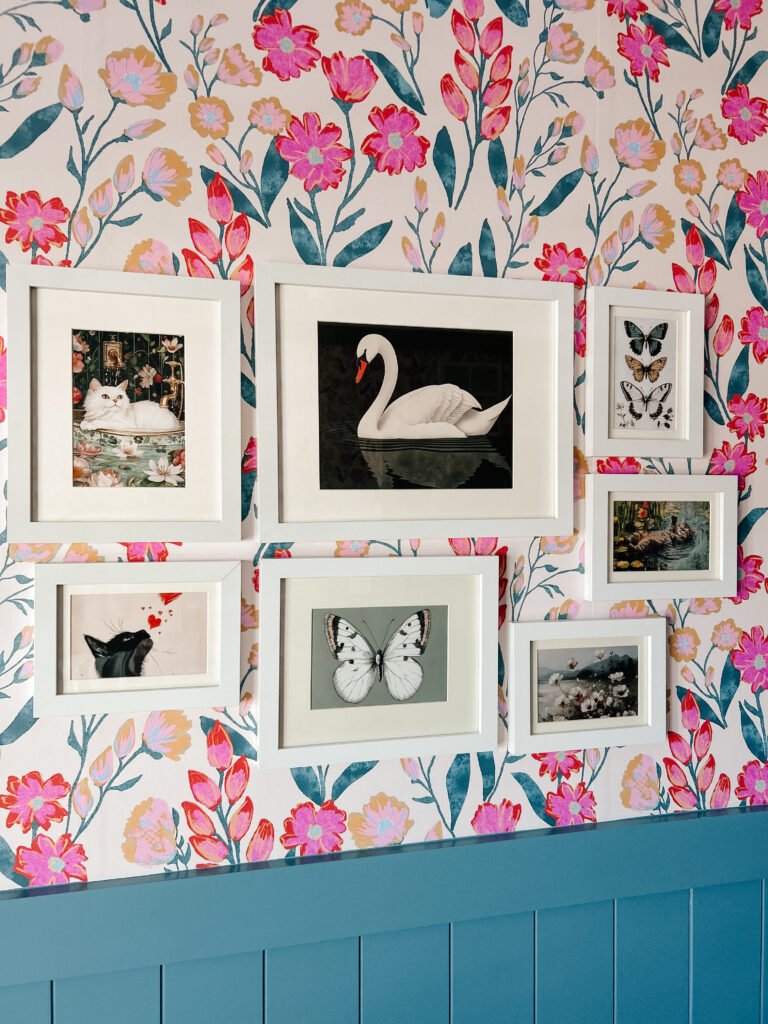
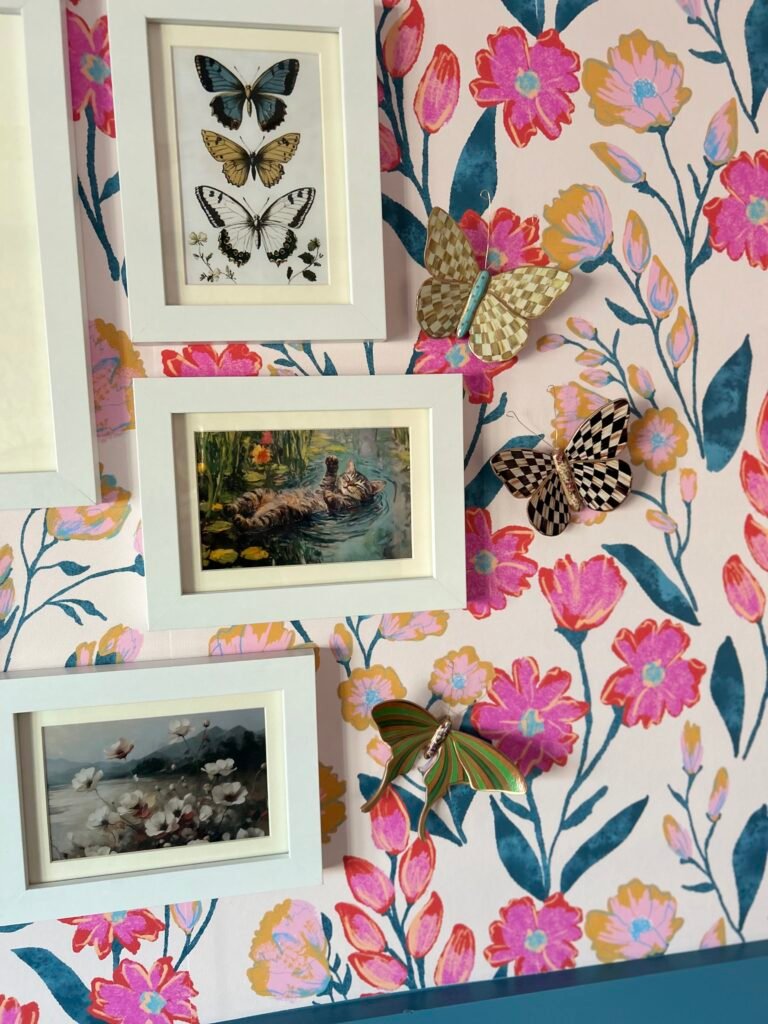
I couldn’t resist the cutest scallop curtains I’ve ever seen. Aren’t they just perfect? They tie the room together with a bit of playful charm, and they pair so well with her dust rose pink Alexandria bedding from Beddy’s. The soft pink bedding goes with everything, and it gives the room a cozy, welcoming feel. To top it all off, the most adorable Mackenzie-Child’s Meadow Butterfly Trio set adds the perfect finishing touch to her gallery wall. These butterflies look like they’re gently landing on the flowers of the wallpaper. Just pure magic!
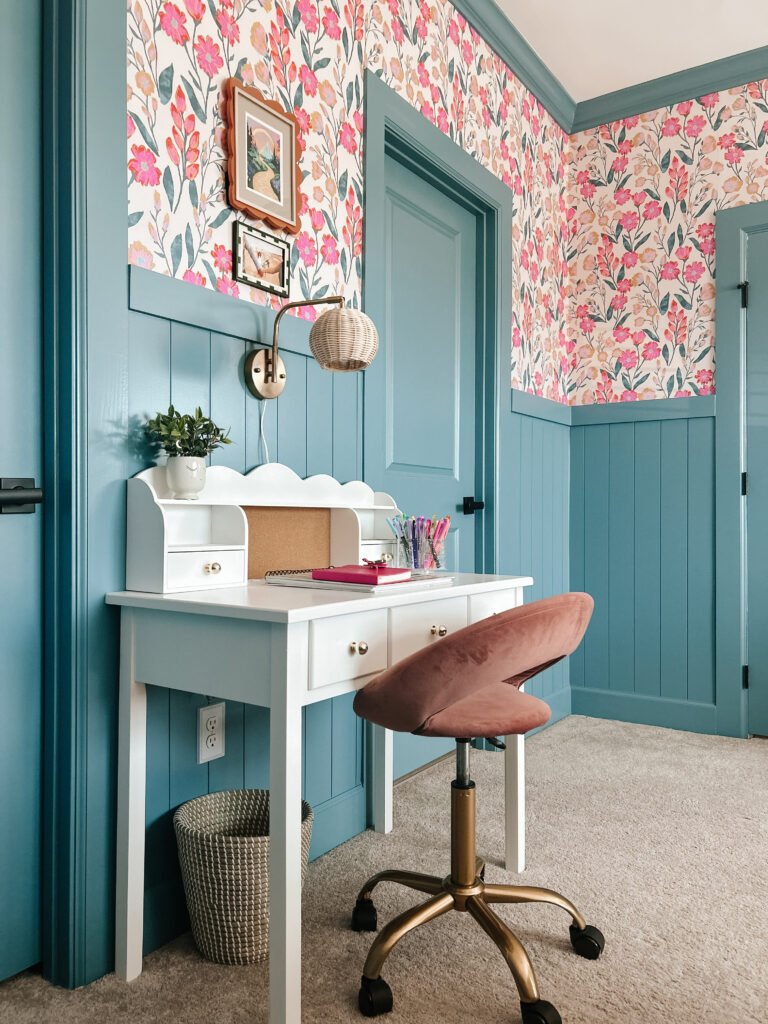
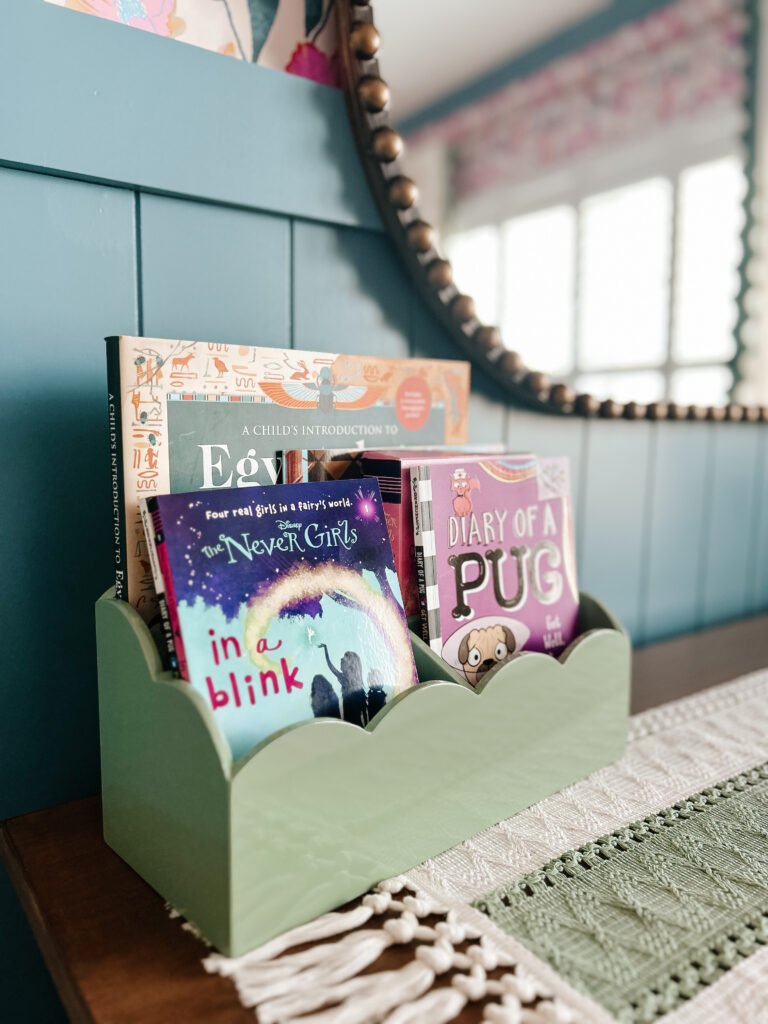
For her white writing desk, we picked a scalloped design from Amazon that mirrors the scallop details in her curtains. It’s subtle but pulls the room’s theme together. We also added an adorable organizer as a makeshift bookshelf. It’s functional and cute, just like Vivian’s new space!
Shop the Look: Get Vivian’s Bedroom Makeover
If you’re inspired by Vivian’s new big girl room and want to recreate the look in your own home, I’ve made it easy to shop the pieces we used! I’ve compiled all the items from her bedroom makeover into my Shop My Account from the wallpaper to the furniture and accessories. Simply click the link below to shop the exact pieces we used, as well as some of my favorite items that I recommend for creating a cozy, stylish space for your little one.
Shop Vivian’s Bedroom Makeover (Affiliate Link)
What’s Next?
While we’re beyond thrilled with how Vivian’s big girl room turned out, there are still a couple of future projects on my mind. First, I’d love to replace the carpet. While I dream of hardwood floors (don’t we all?), the reality is that replacing the carpet will probably be a more practical option for now. It’s on my wish list!
And lastly, the door knobs. I strongly dislike the ones that came with the house. They just don’t match the new vibe of Vivian’s room (or the rest of the house, for that matter). I’ll definitely be replacing them in the near future. It’s a small detail that will make a big impact!
A Room that Grows with Her
It’s amazing to see how much joy this room has brought to Vivian. It’s a space that she feels truly at home in, one that reflects her personality and, most importantly, one she can grow into. I’m so proud of how it turned out, and I know she’ll enjoy it for many years to come.
Creating a space for your child that evolves with them is one of the most rewarding projects a parent can take on. Here’s to many more years of big girl adventures in Vivian’s beautiful new room!
Follow the Transformation on Instagram
Want to see the entire transformation from start to finish? Be sure to check out my Instagram page, where I’ve shared behind-the-scenes moments, progress updates, and extra details from Vivian’s big girl room makeover. You can see how the design came together, from choosing the wallpaper to the final touches.
Click here to view the process on my Instagram
I’d love to hear about your own kids’ room transformations! What’s the one design element you can’t live without? Or maybe you have some suggestions on what I should add next to Vivian’s room. Drop a comment below!
A Sweet Little Update
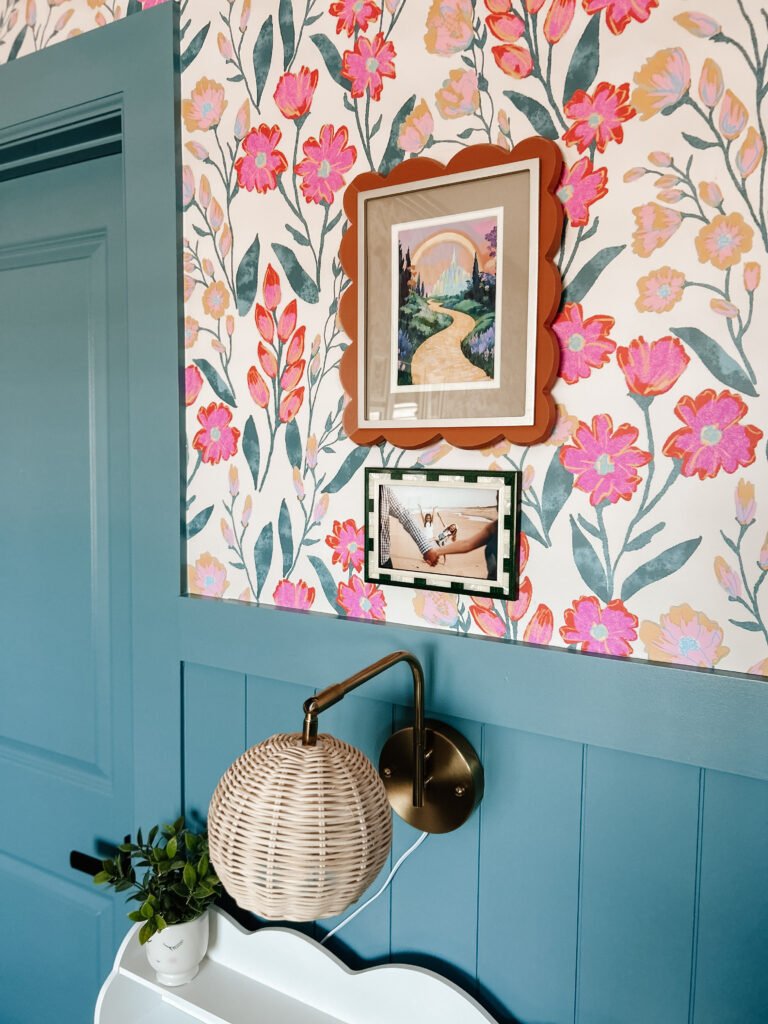
I couldn’t resist adding these two stunning pieces from Urban Garden Prints to Vivian’s bedroom. The Butterflies Pair by Jenny Westenhofer here brings such delicate charm and whimsy to the space, perfectly complementing the room’s girly yet timeless vibe. Each print comes in a beautiful bamboo frame, which adds a natural, warm touch while letting the artwork shine. Together, they feel like a little flutter of joy on the wall and really help tie the whole room together.