

Affiliate Disclosure: Some of the links in this post are affiliate links, which means I may earn a commission if you click on them and make a purchase. This comes at no extra cost to you. Your support through these links helps me continue to create content for you. Thank you!
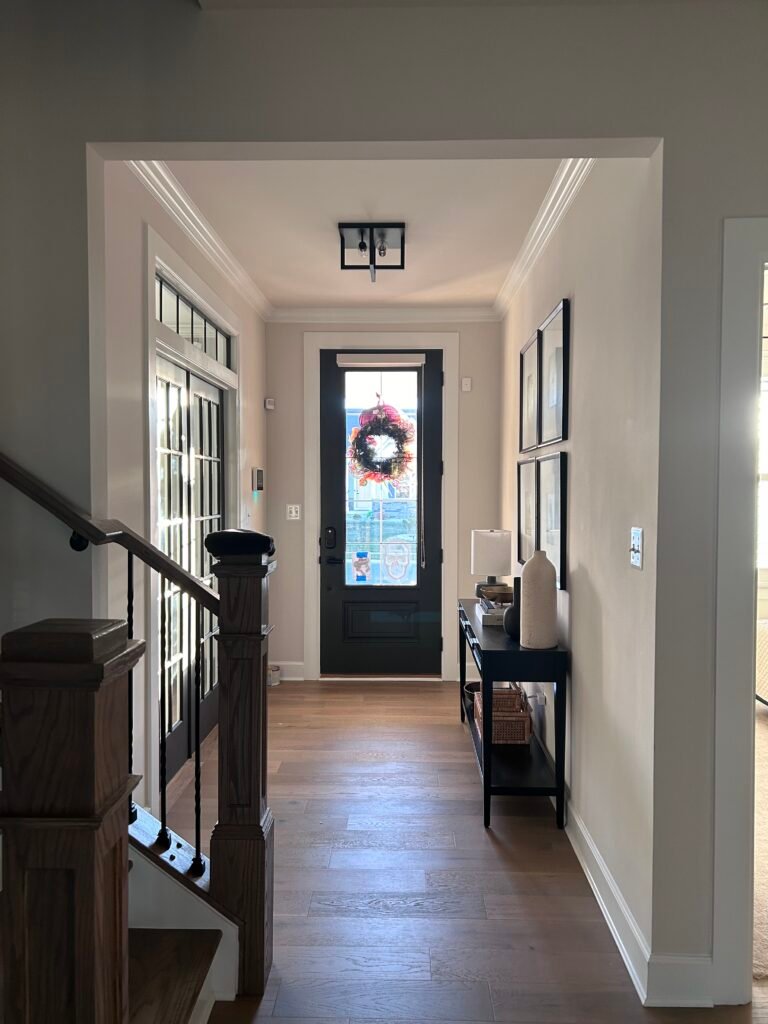
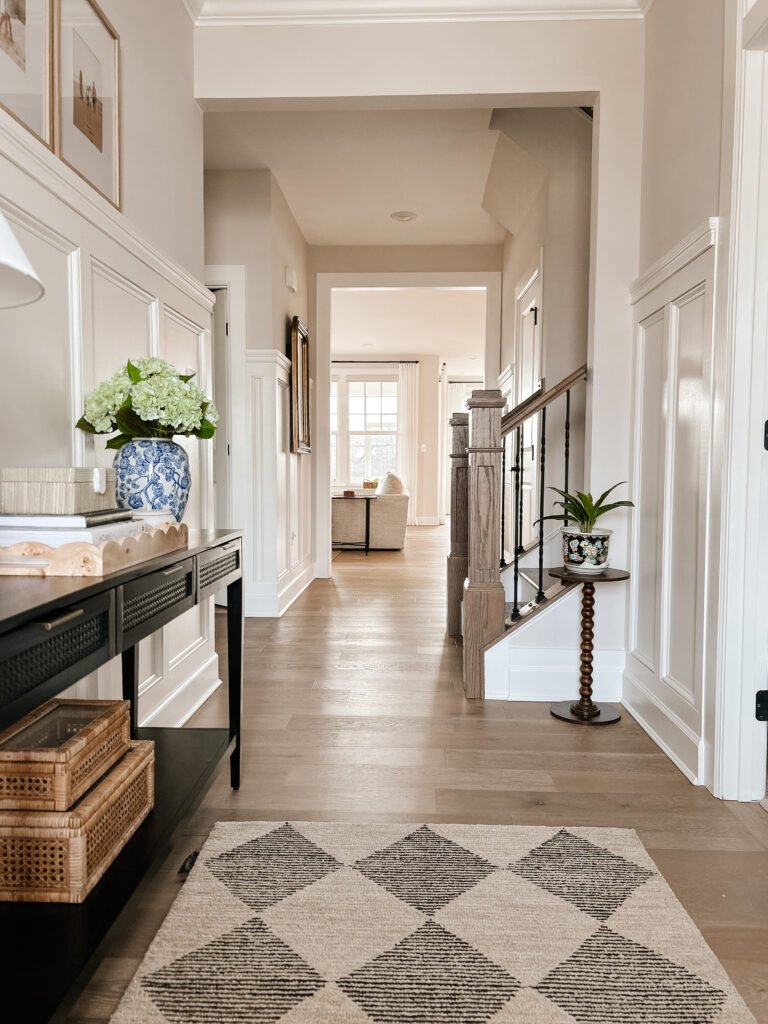
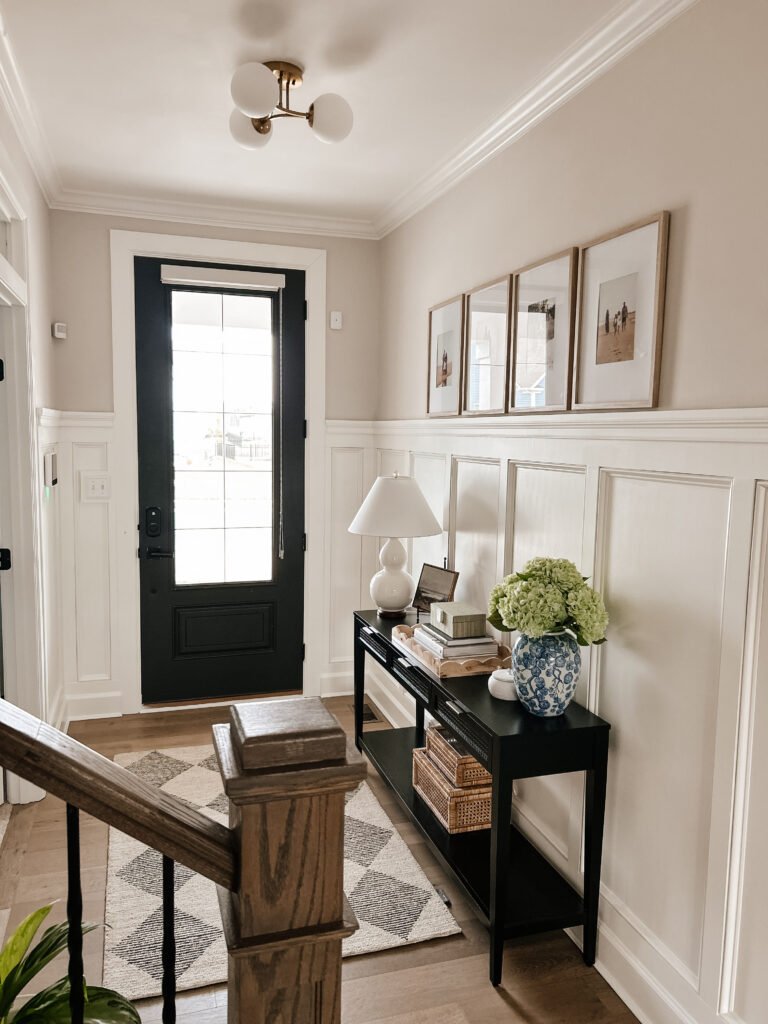
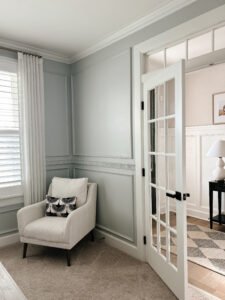
When it comes to home improvement projects, nothing quite compares to the satisfaction of transforming a space with my own hands. From the moment I first stepped into my home, I knew the entryway needed something special. It was the first impression of my home—the space that sets the tone for everything beyond it and yet, it felt plain and uninspired. I wanted it to be welcoming, full of character, and reflective of the cozy yet refined aesthetic I envisioned for the rest of the house.
Recessed paneling was the perfect solution. Not only does it add depth and texture, but it also creates a timeless, high-end look that instantly elevates a space. I could already picture how the crisp lines and structured design would make the entryway feel more intentional, more polished, and above all, more inviting. And with that vision in mind, I knew this would be one of the first DIY projects I tackled in my home.
Materials:
- 1×4 poplar boards (for vertical and horizontal trim)
- 1×6 poplar boards (optional for horizontal sections)
- Decorative base cap molding (for inside each box)
- Wood spacers (to help with baseboard reinstallation)
- Wood filler (for nail holes)
- Caulk (for seams and edges)
- Sandpaper (120-220 grit)
- Primer
- Paint
Tools:
- Measuring tape
- Level
- Stud finder/stud buddy
- Pencil (there will lots of writing on the walls)
- Miter saw (for cutting trim)
- Brad nailer + nails (I used 18-gauge nails)
- Caulk gun
- Wood glue (optional for extra hold)
- Razor blade (for removing existing floor molding cleanly)
- Painter’s tape (to protect edges)
- Paintbrush or roller (or a Graco cordless sprayer for a smoother finish)
Extras (Optional but Helpful):
- Paintable outlet/light switch
- New light fixture (since I swapped mine out!)
- Wallpaper (if you plan to add it later)
Step 1: Reusing Floor Molding for a Custom Touch
The first step in my project was carefully removing the existing 5-inch floor molding and shoe molding. To do this without damaging the wall, I used a razor blade to score along the caulk line where the trim met the wall. This prevented the paint from peeling off and ensured a clean removal. I took this extra step because if I had left the floor molding in place, the new vertical trim pieces would have hung over it awkwardly, making the design look incomplete—like a half-finished project or an accidental oversight.
There are other ways to approach this, but since my existing trim was only two years old and still in great shape, reusing it made the most sense. Not only did it save me money, but it also allowed me to maintain a cohesive look with the rest of the house.
Once the floor and show molding was removed, I installed a 1×4 poplar trim horizontally, positioning it 4 inches above the floor. To ensure a sturdy foundation for reattaching the original molding, I placed spacers underneath the 1×4 trim, creating a solid surface to nail into. This method gave the baseboards extra depth, making them flush with the vertical paneling pieces while keeping the entire design intentional and polished.

Step 2: Installing the Paneling
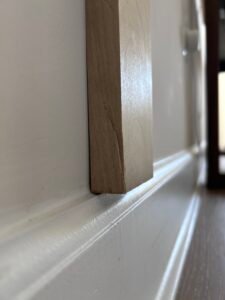
Once the base was prepared, I began planning out the paneling design. One of the most important steps in this process was factoring in the width of the vertical pieces. I always like to sketch out my design first to figure out the measurements before cutting any wood. For this project, I started by dividing the room in half, as I wanted my center box to be perfectly in the middle. From there, I worked my way outward on each side, spacing the vertical trim accordingly.
Ideally, all of the boxes should be the same width, but if they’re off by a little bit, no one will notice. In fact, mine are not all the exact same width, and you would never know! The key is to make them look as uniform as possible to maintain a cohesive and balanced design. Another tip is to tape the vertical trim up first before nailing them. This will give you the option to play with the layout and move pieces around.
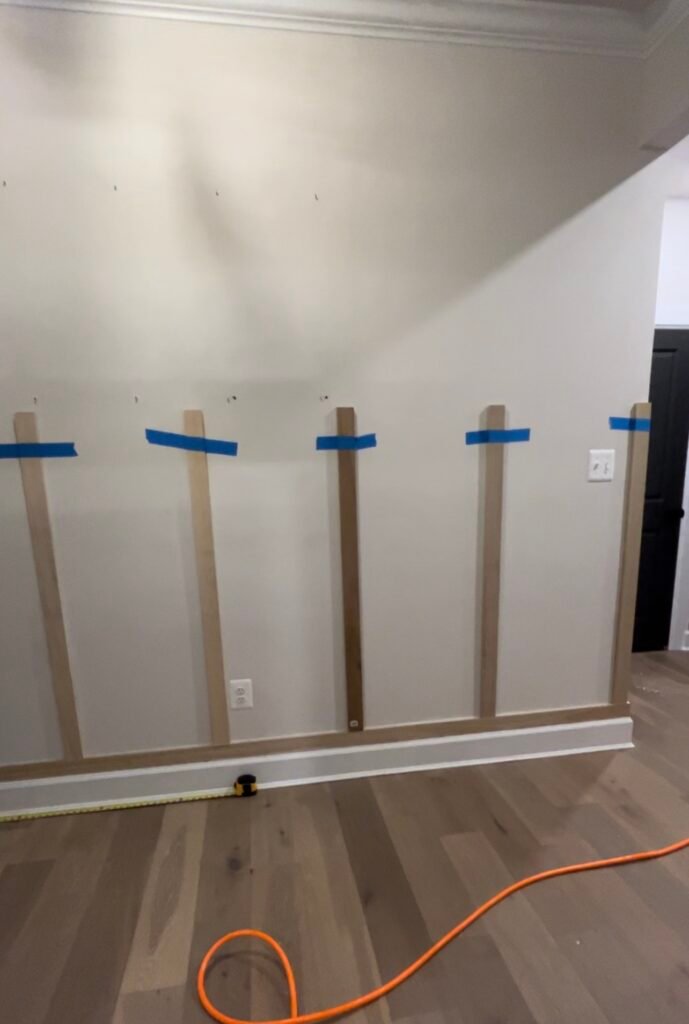
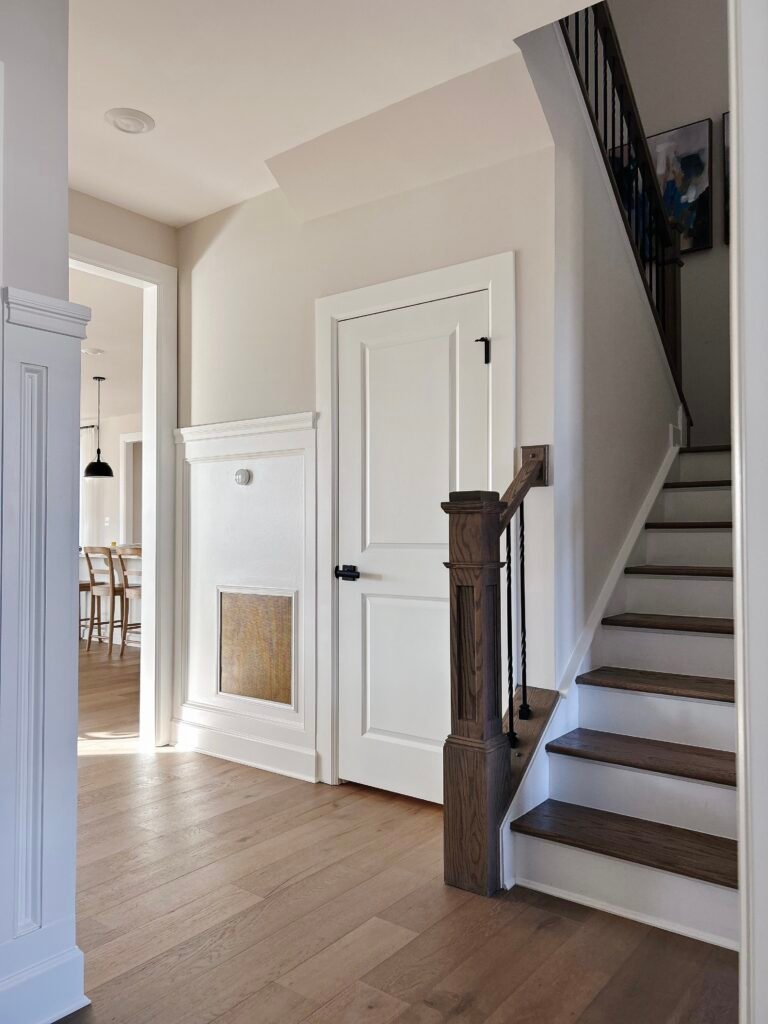
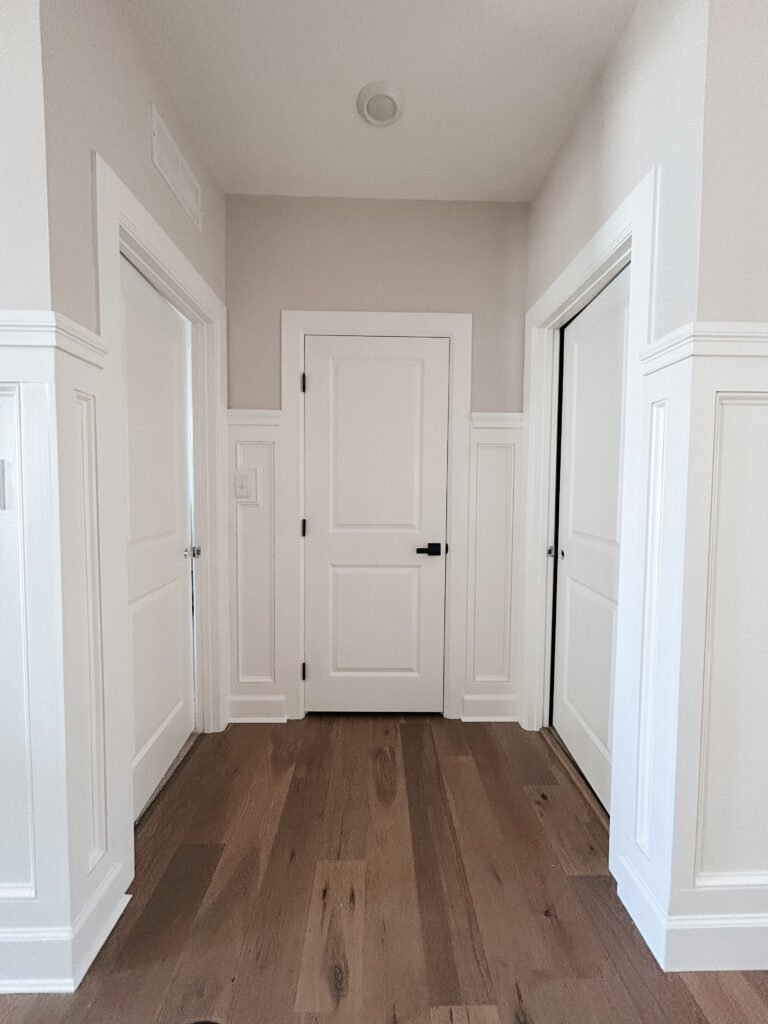
Another critical step in the planning process is identifying any obstacles—light switches, outlets, alarm panels, thermostats, etc. If I could avoid placing trim where these elements were located, I did, but sometimes it was unavoidable. In my case, one of my vertical trim pieces ran into a light switch, so I had to get creative.
Once I finalized the layout, using a level, I installed the paneling using a combination of 1×4 vertical pieces and 1×6 horizontal pieces, which provided a balanced, structured look. To complete the design, I added a chair rail trim along the top for a refined finish.
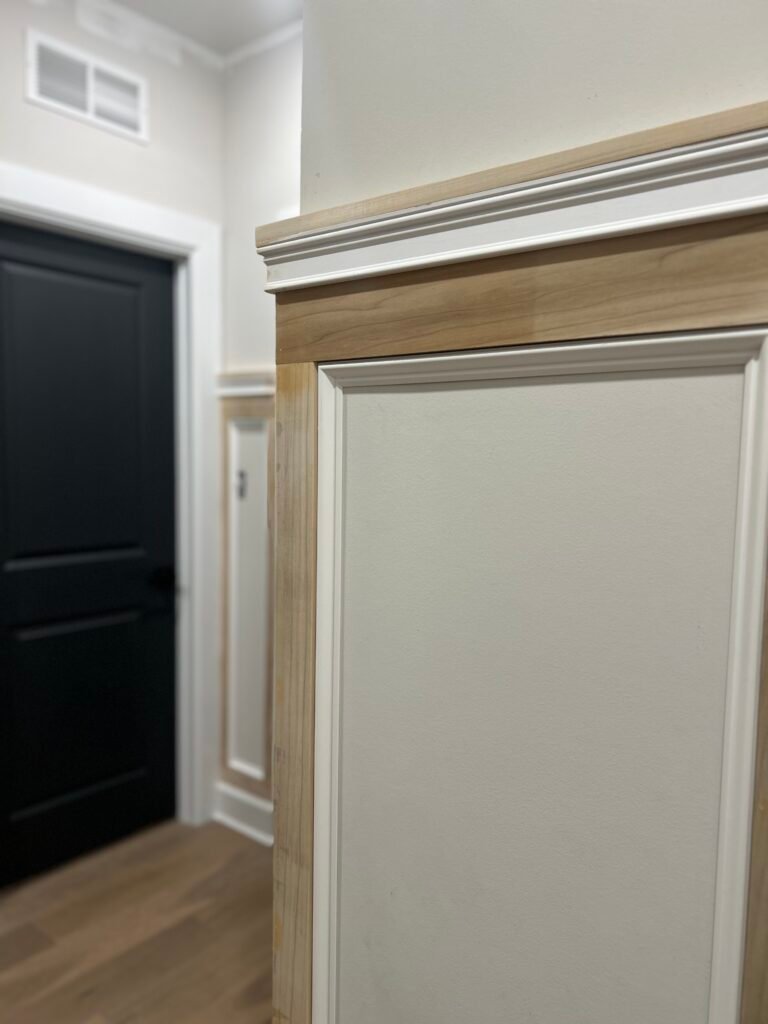
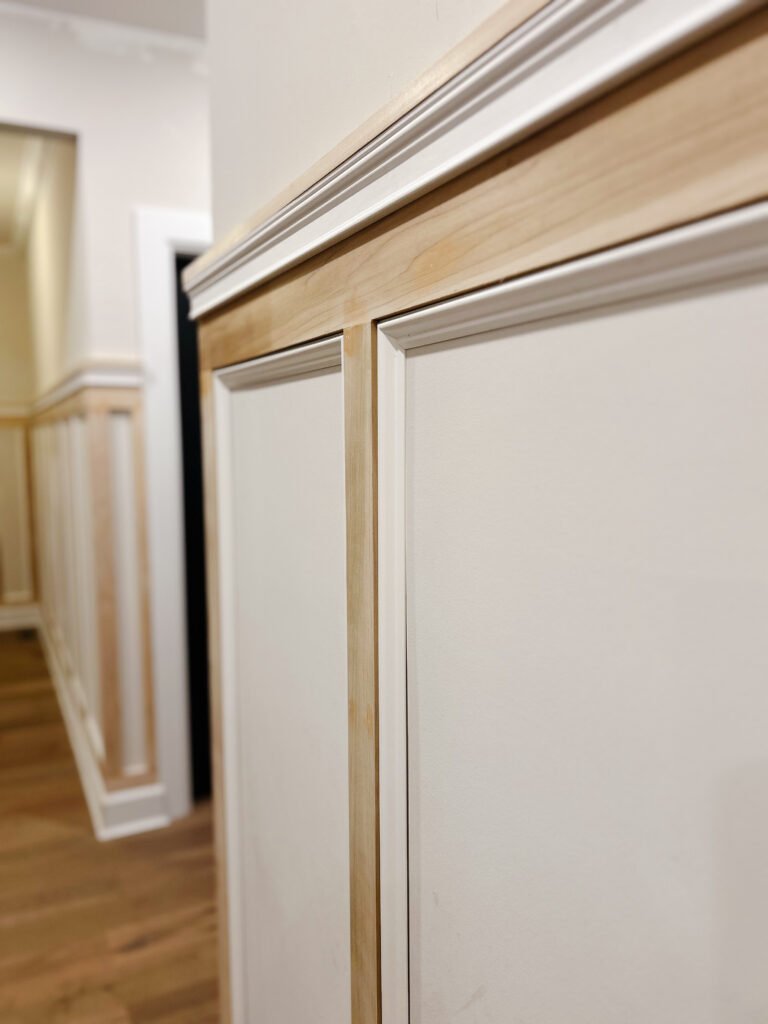
The final touch—and possibly the biggest game-changer—was installing decorative base cap molding inside each box. This small detail made a huge impact, adding depth and a truly custom, high-end look. It transformed the entire design, taking it from a simple recessed paneling project to something that looked professionally done. The extra layer of detail made all the difference, elevating the space and making it feel intentional and polished.
Step 3: Dealing with Light Switches and Outlets
When working around light switches and outlets, things can get a little tricky. I didn’t want to compromise the clean lines of my new paneling, so I found a simple hack: I used trim of the same width to frame the electrical boxes. This gave the space a more polished look while also keeping the paneling design intact. Check it out here
Step 4: Finishing Touches
Once the paneling was installed, it was time to fill in any imperfections. I used wood filler to cover the nail holes and caulk for any seams where the paneling met the wall. This ensured a seamless and smooth finish, eliminating any visible gaps or inconsistencies. Also, use primer on the wood before painting. This is essential for sealing the wood before painting to ensure a smooth, even finish.
For paint, I went with Simply White by Benjamin Moore. I wanted a clean, bright finish to contrast with the warm tones of the wood floor and stairs in the entryway. But the real star of this project was Benjamin Moore’s Advance Line—a premium, waterborne alkyd paint designed for trim, cabinetry, and doors. This high-quality paint offers a durable, smooth finish that resists wear and tear, making it perfect for high-traffic areas like an entryway. Plus, it dries to a hard finish meant for furniture and cabinets, providing a truly professional look. I opted to spray this on for a smoother finish using my Graco cordless sprayer.
Step 5: Enjoying the Results
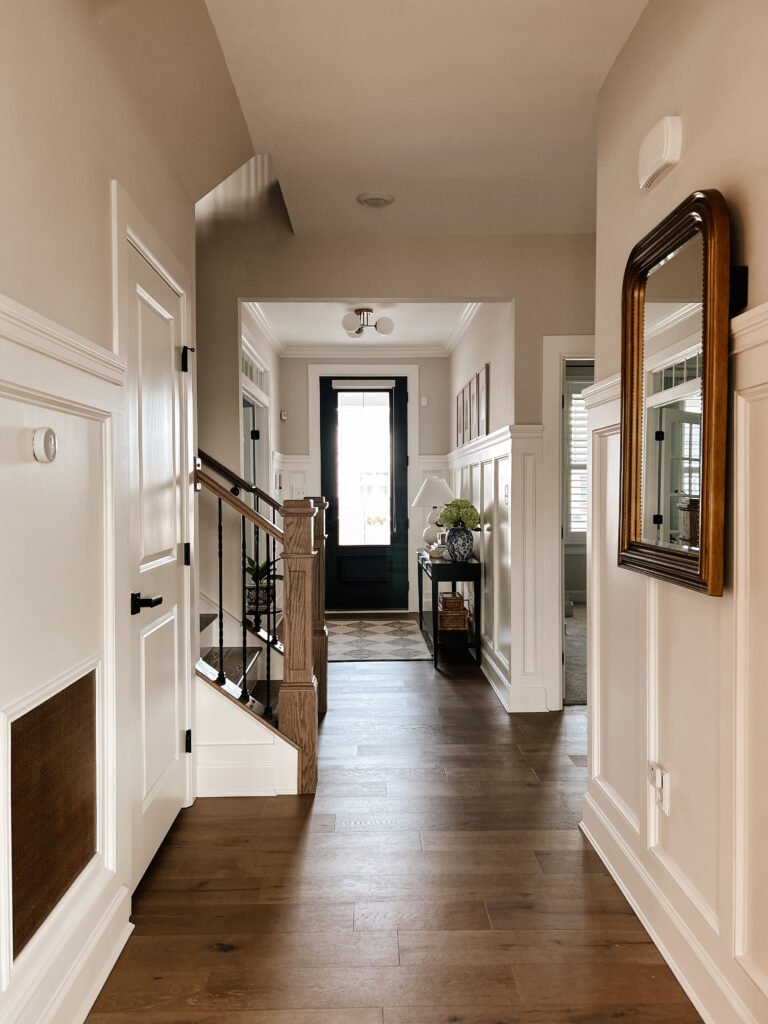
Once the paint dried, I stepped back and just took it all in. It completely changed the vibe of the entryway, making it feel so much more put together and intentional. It was exactly what I had envisioned, and I couldn’t believe I pulled it off myself! By reusing the floor molding and carefully installing each piece of trim, I was able to create a timeless, high-end look without the high-end price tag. The recessed paneling added a new layer of elegance to my entryway, making it feel more inviting and thoughtfully designed. To top it off, I also swapped out the light fixture, which made an even bigger impact than I expected. It all came together so well, and I couldn’t believe how much of a difference this DIY made.
Oh, and to finish things off, I touched up the top portion of the wall with the original paint used by the builder, City Loft by Sherwin Williams. However, I do plan to take it a step further by adding wallpaper down the road to bring in even more personality and texture.
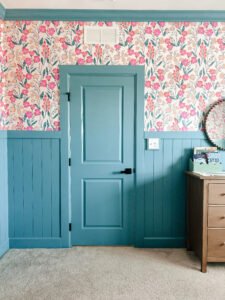
In the meantime, I’ll be tackling other fun projects—starting with my daughter’s big girl bedroom makeover! Check it out here
We’re so thrilled with the results, and we hope this DIY guide inspires you to tackle a similar project in your own home. Whether you’re a seasoned DIYer or just getting started, transforming your space with recessed paneling is a fun and rewarding project you can be proud of.
Shop this room here
Disclaimer: This post contains affiliate links. If you make a purchase, I may earn a commission at no cost to you.
Ready to give your entryway a makeover? Start planning your own recessed paneling project today, and don’t forget to share your progress with us!


3 thoughts on “Transforming Our Entryway with DIY Recessed Paneling: A Step-by-Step Guide”
Pingback: The greatest Big Girl bedroom Makeover: A Rainbow to Botanical Bliss – Where Love Gathers
Absolutely beautiful! You’re an awesome woodworker! I will follow you and check out your projects to see what i can do. So impressed!
I absolutely LOVE what you did and am going to copy you!! It’s beautiful!!