When I signed up for the One Room Challenge, I knew exactly which space I wanted to tackle, our laundry room. As one of the hardest-working rooms in the house, it deserved to be just as stylish as other rooms in our home. But beyond looks, I needed a space that was efficient, organized, and made doing laundry just a little more enjoyable (or at least less of a chore).
That’s where my mood board came in. I spent hours curating inspiration, selecting colors, and planning out every functional and aesthetic detail. In this post, I’m sharing my vision for the space, the thought process behind my design choices, and a sneak peek at what’s to come.
The Layout: A Small But Mighty Space
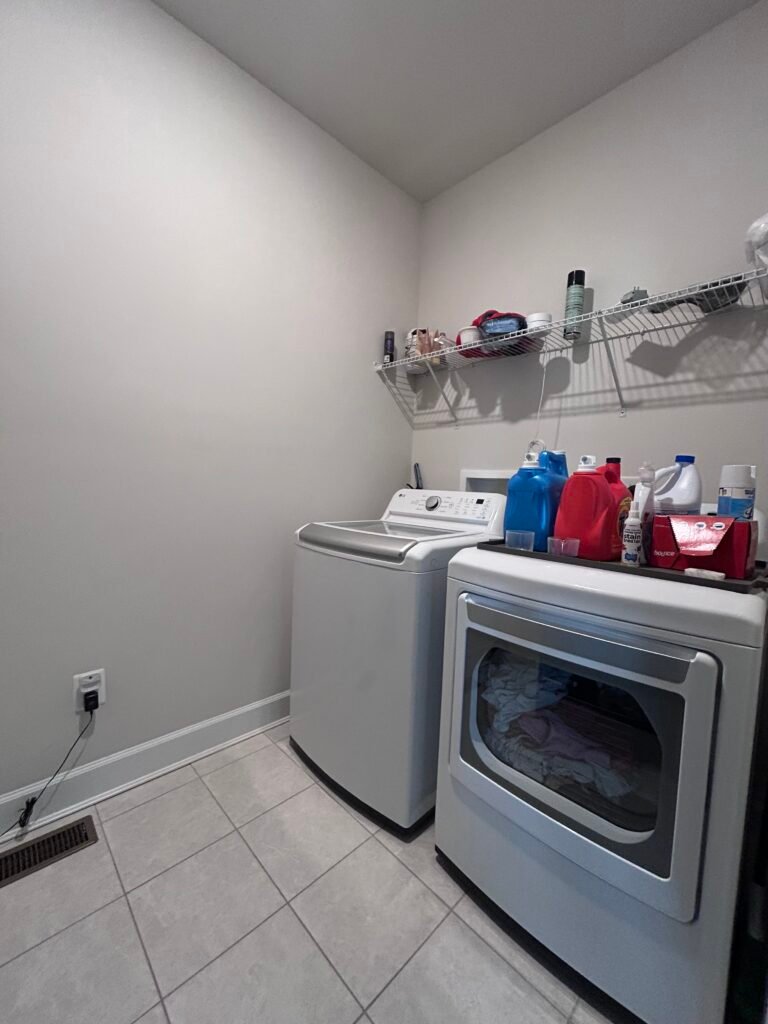
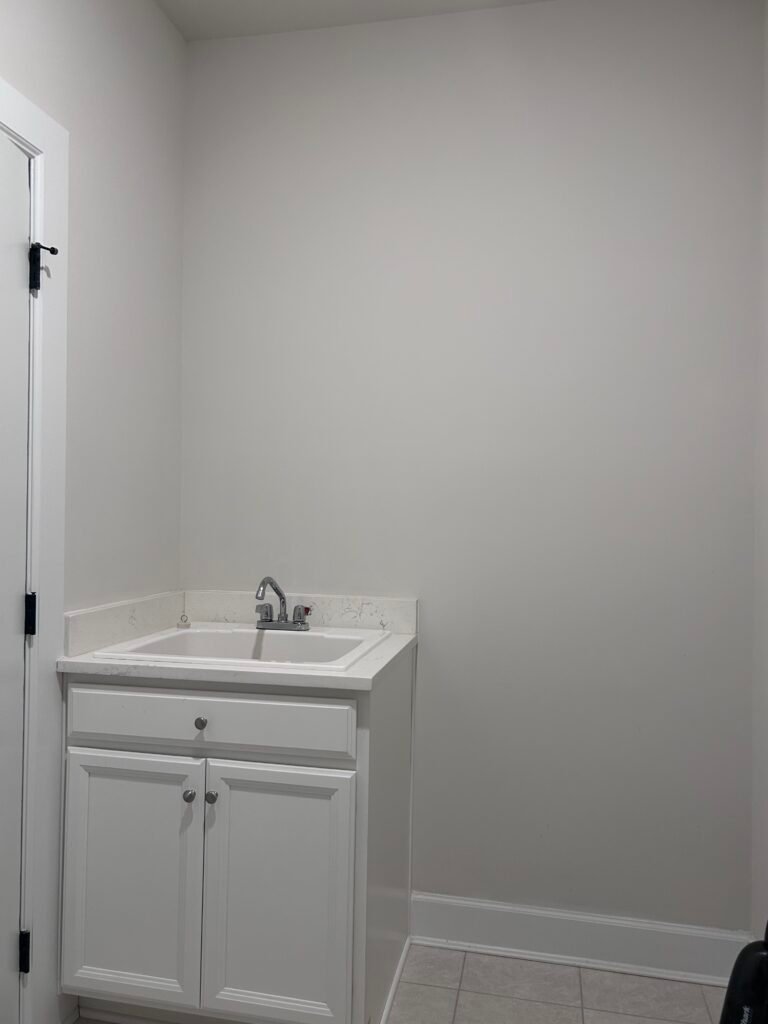
Our laundry room is compact, just 5×9 feet but with smart design, it will have everything we need. The washer and dryer are on one of the 5-foot walls, directly to the right when you walk in. On the opposite 5-foot wall, we have a sink and base cabinet that we’ll be upgrading. The key to making this space work is maximizing every inch for storage and function while maintaining an open, airy feel.
To achieve that, I’m focusing on built-in elements and strategic storage solutions that will make the most of the vertical space.
The Design Plan: Storage, Functionality & Style
Above the Washer & Dryer
- Cabinets: Link here; I’m installing two 18×24 cabinets in each corner above the washer and dryer for concealed storage. These will be painted in a soft gray-blue hue, keeping the space light and calming.
- Floating Shelves: Between the cabinets, I’ll be adding two custom floating shelves. I’m considering adding gallery rails (also known as tipping rails) for an extra detail, but that decision will be made once everything starts coming together.
- Utility Shelf: Beneath the floating shelves, a long shelf will span the entire 5-foot wall above the washer and dryer. This will house everyday essentials like laundry detergent, fabric softener, and dryer sheets for easy access.
- Backsplash: A white tile backsplash will tie it all together, though this may be a later addition depending on timing. With only eight weeks to complete the challenge—and only Fridays and evenings to work on it—some elements may have to wait.
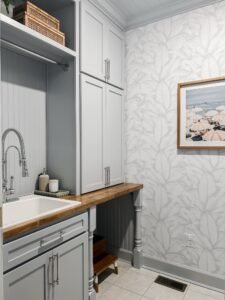
The Opposite Wall: Sink & Storage Upgrade
- Sink & Base Cabinet: We’re keeping the existing sink and cabinet base but upgrading with a new countertop that will extend from wall to wall.
- Countertop Cabinets: Above the countertop, I’m adding cabinets that will extend to the ceiling for even more storage.
- Custom Hutch: Next to the cabinets, I’m building a custom hutch with a shiplap backing, a shelf on top, and a clothing rod underneath for hanging clothes. The goal is to make it look like a single built-in unit.
- Secret Space: There’s an extra section of empty space that will be prepped for a special surprise addition in the future. You’ll have to stay tuned to see what it is!
The Finishing Touches
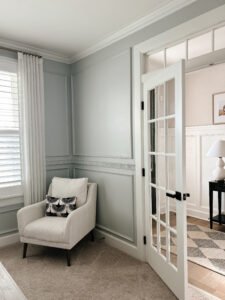
- Crown Molding: This will run throughout the entire room, elevating the space and making it feel more polished.
- Paint: The cabinets and trim will be painted in a soft gray-blue, complementing the wallpaper and hardware.
- Lighting: The ceiling will be painted white, and I’m swapping out the light fixture for something stylish and functional.
- Faucet Upgrade: I’m on the hunt for the perfect polished nickel faucet to tie in with the hardware.
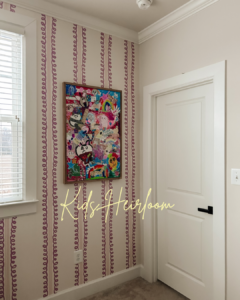
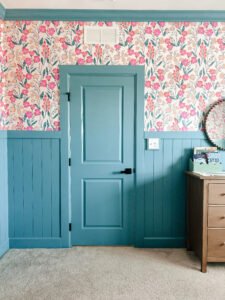
- Wallpaper: I’m torn between two blue options—one featuring banana leaves and the other with palm trees. While they have a slightly coastal feel, they fit perfectly in our home since we live in a coastal town.
- Flooring: This is a future project. Right now, tackling the floors while doing everything else is just too overwhelming. But I already know exactly what I want when the time comes!
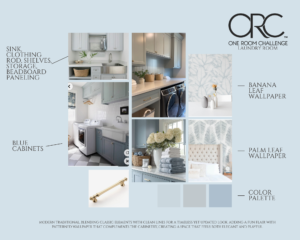
The Mood Board: Bringing It All Together
My mood board reflects the vision for this space: classic yet fresh, functional yet beautiful. The combination of soft blue cabinetry, polished nickel hardware, crisp white tile, and natural elements like shiplap and floating wood shelves creates a timeless yet modern look. The wallpaper will add personality, and the built-ins will make the space feel high-end and custom.
Here’s a breakdown of the elements on my mood board:
- Paint Color: Soft gray-blue (to be finalized soon!)
- Hardware & Faucet: Polished nickel for a classic, elegant touch
- Cabinets & Shelving: Mix of closed storage and open shelving for a balance of function and style
- Wallpaper: Blue banana leaves or palm trees—still deciding!
- Backsplash: White tile for a clean, timeless look
- Lighting: A statement fixture to brighten the space and add character
- Molding: Crown molding to elevate the overall design
This mix of elements creates a space that feels elevated yet approachable, classic yet fresh.
Challenges & What’s Next
As excited as I am about this transformation, I know it won’t be without its challenges. The biggest hurdle? Time. With only eight weeks to complete the challenge—and only being able to work on Fridays and evenings—it’s going to be a race to the finish line. Some elements, like the backsplash and flooring, may have to wait until after the challenge is over. But my priority is getting the cabinetry, shelving, and functional elements completed first.
Over the next few weeks, I’ll be sharing updates on:
- Finalizing the wallpaper choice (banana leaves or palm trees—what do you think?)
- Painting the cabinets and seeing how the color plays with the wallpaper
- Installing the shelves and deciding if I want gallery rails
- Building the custom hutch and seeing it come together as a built-in feature
I can’t wait to see this vision turn into reality and finally have a laundry room that is both beautiful and functional!
Follow Along!
I’ll be sharing progress updates throughout the One Room Challenge, so stay tuned for more posts. If you have any thoughts on the wallpaper choice or tips for tackling a project like this on a tight timeline, drop them in the comments!
Let’s make laundry day a little more stylish!