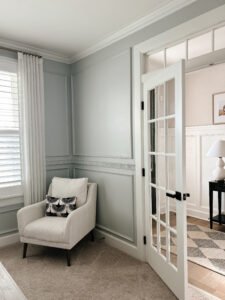
If you’re looking for a way to add character and charm to any room in your house, faux shiplap paneling is an excellent option. Not only does it bring a modern, farmhouse-inspired look to your space, but it can also be installed with ease – even if you’re a beginner at DIY projects. In this blog post, I’ll walk you through the entire process of how I installed faux shiplap paneling in my daughter’s bedroom. I’ll explain every step of the process, including the tools I used, and give you helpful tips along the way.
Why Faux Shiplap Paneling?
Shiplap has become a popular design trend over the last few years, and it’s easy to see why. It provides a fresh, clean aesthetic and a sense of warmth and texture to a room. But the problem with traditional shiplap is that it can be expensive and time-consuming to install, especially if you’re working with real wood. That’s where faux shiplap comes in.
Faux shiplap paneling is a budget-friendly and time-saving alternative to real wood. It’s typically made from materials like MDF, which is lightweight, easy to cut, and easy to install. Additionally, faux shiplap panels often come in 4×8 sheets, which makes them easier to handle and less messy compared to cutting individual pieces of wood.
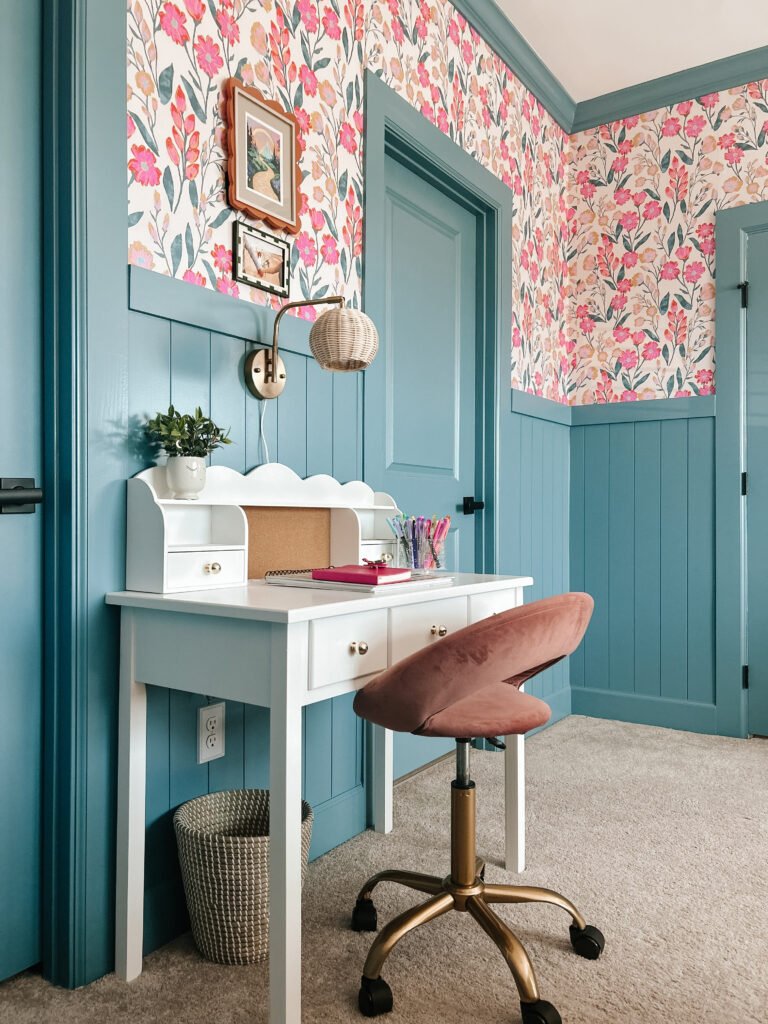
For my daughter’s bedroom, I decided to go with faux shiplap for a fresh and cozy feel. It was the perfect solution to transform the space without breaking the bank.
Tools and Supplies You’ll Need
Before you begin, it’s important to gather all the necessary tools and supplies. Here’s a complete list of what you’ll need:
- Faux Shiplap Panels (4×8 sheets)
- I used 4×8 faux shiplap panels that I cut in half to create the vertical look at 4 feet high.
- Circular Saw
- A circular saw is essential for cutting the panels down to the desired size.
- Multi-Tool
- This is used to cut out openings for light switches, outlets, or other obstacles.
- Stud Finder
- A stud finder is crucial for locating the studs in your wall to ensure the panels are properly secured.
- Nail Gun (or Hammer & Nails)
- You can either use a nail gun for quick and efficient installation or a hammer and nails if you prefer.
- Nail Glue (optional)
- If you don’t have a nail gun, nail glue can be a great alternative to attach the panels to the wall.
- Tape Measure
- For accurate measurements when cutting and hanging the panels.
- Pencil or Chalk Line
- To mark your panels and ensure straight cuts.
- Level
- To make sure each panel is hung straight and level.
- Paint and Paintbrush
- Once the panels are installed, you’ll want to paint them to give them a fresh, finished look.
Step-by-Step Instructions for Installing Faux Shiplap Paneling
Now that you’ve gathered your materials, it’s time to get started. Here’s how I installed the faux shiplap paneling in my daughter’s bedroom. The process took me about 2-3 days to complete, and I did it all by myself, so you can definitely handle it too!
1. Measure and Plan
Start by measuring the wall to determine how many panels you’ll need. I decided to hang the panels vertically at 4 feet high, which gave the room a more modern look. Take the time to measure accurately and mark your panels and the wall to ensure everything will fit perfectly.
Use a tape measure to measure the height and width of your wall. You’ll also want to mark the location of the studs along the wall using a stud finder. This will guide you in where to secure the panels later.
2. Cut the Panels
Once you’ve measured everything, it’s time to cut the 4×8 panels in half. I used a circular saw for this step, which allowed me to make precise cuts. Since my panels were 8 feet wide, I cut them down the middle so each piece would be 4 feet wide.
Cut slowly and carefully, making sure to follow your marked lines. Be sure to wear safety goggles and a mask to protect yourself from any dust while cutting.
Tip: If you’re working solo like I did, you can use insulation board to cut the paneling on.
3. Cut Out Holes for Light Switches and Outlets
This is probably the most intimidating part of the whole project, but don’t worry—it’s not as difficult as it seems. After cutting the panels to size, I used a multi-tool to cut out the openings for the light switches and electrical outlets on the wall.
To do this:
- Measure the distance from the beginning of the board, side, top and bottom – then measure the size of the outlet itself.
- Make your markings on the paneling.
- Use the multi-tool to carefully cut along the marked lines. Take your time and be sure to check the fit before moving on.
It might seem intimidating, but as long as you measure and cut carefully, it will go smoothly.
Tip: Measure your cutout location multiple times (I measured 47 times just to be sure!) to ensure accuracy. This step will make your panels fit seamlessly around the switches and outlets.
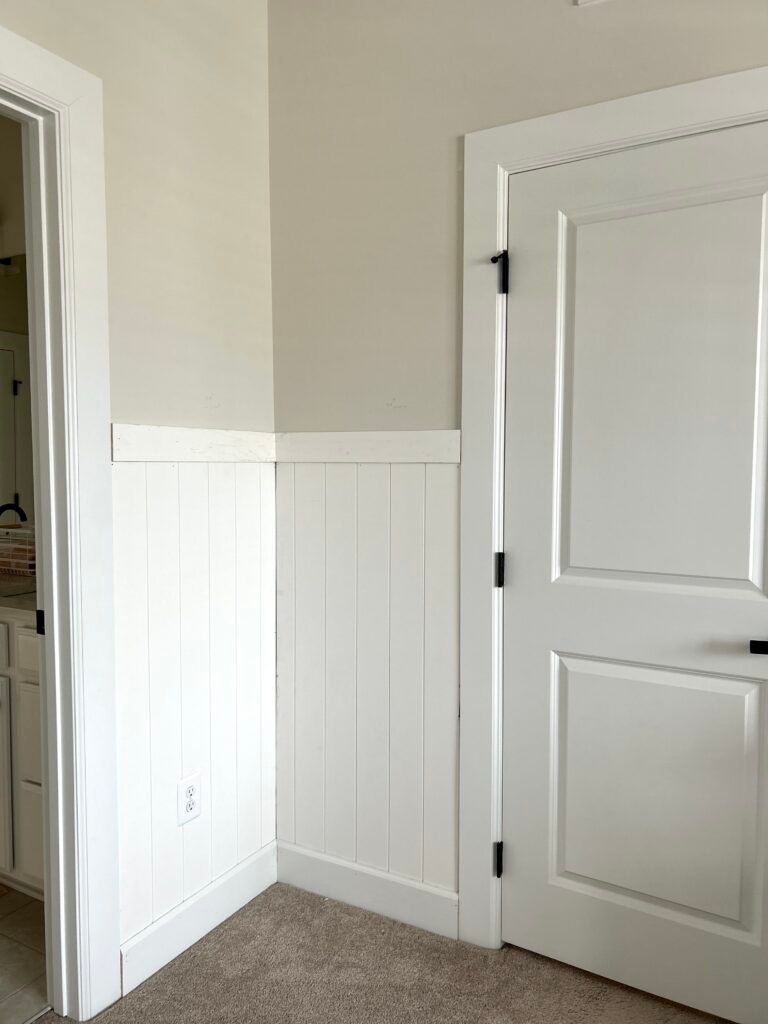
4. Attach the Panels to the Wall
Once the panels are cut to the right size and you’ve made the necessary cuts for switches and outlets, it’s time to attach them to the wall. I used a stud finder to locate the studs in the wall, as it’s crucial to nail the panels into these for maximum stability.
Starting at one end of the wall, I positioned the first panel in place. Using a nail gun, I nailed the panel directly into the studs, making sure the nails went into the solid wood behind the drywall. If you don’t have a nail gun, you can also use nails and a hammer, or nail glue for a cleaner look.
I repeated this process for each panel, ensuring that each one was straight and level before securing it. If you’re using a hammer, be sure to countersink the nails slightly, so they don’t stick out.
Tip: Use a laser level to ensure that each panel is straight before nailing it in place. If the panel isn’t level, the rest of the panels won’t align correctly.
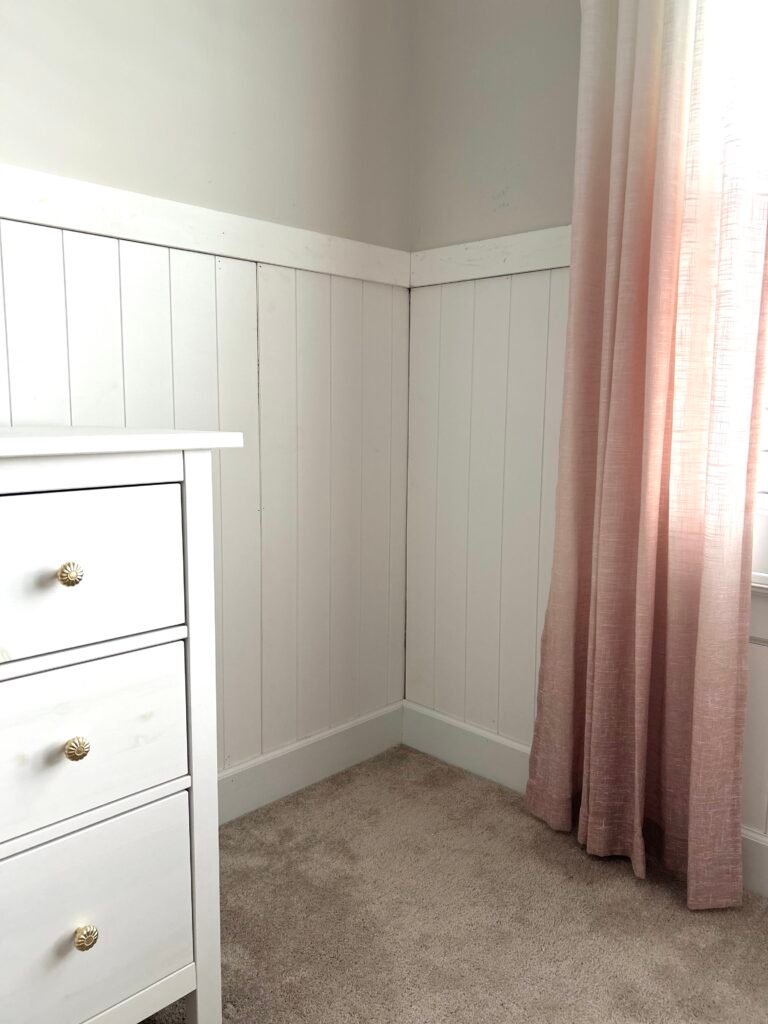
5. Cut and Install the Final Pieces
Once all of the panels are up, you may need to cut the final pieces to fit around the edges of the room. I used my circular saw to trim any excess paneling and fit the final pieces in place. Just like before, measure carefully before making any cuts.
Lastly, your going to need to hang some type of chair rail. The hardest part here is figuring out which trim for the chair rail you love the most. Since you hung the paneling evenly, you’ll rest the chair rail on top of it and nail it in, no need to use a level… you already know your paneling is super straight from step. 4.
6. Paint the Panels
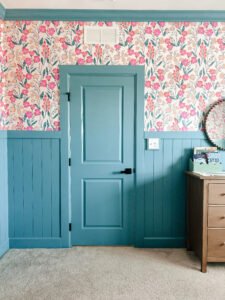
After all the panels are installed, the final step is to paint them. I chose to paint my faux shiplap blue to coordinate with the vibrant wallpaper. However, you can opt for any color that matches your style and preferences.
Apply a coat of paint using a paintbrush/roller or a paint sprayer. Allow the paint to dry completely before adding a second coat. Once the paint is dry, step back and admire your work!
Final Thoughts
Installing faux shiplap paneling is a relatively simple and inexpensive way to add style and charm to any room, and it doesn’t require any special skills or experience. With just a few basic tools, you can transform a plain wall into something beautiful in just a few days.
This DIY project took me about 2-3 days to complete, and the result is a stunning bedroom that feels fresh, inviting, and cozy. If you’re ready to take on your own faux shiplap project, I hope this guide will make the process easier and help you achieve the results you’re looking for!
Don’t Forget:
- Measure multiple times before cutting.
- Take your time with the multi-tool when cutting out light switch and outlet holes.
- Nail into the studs for maximum stability.
- Use a laser level to keep your panels straight.
Good luck with your faux shiplap project! Let me know how it turns out.