Affiliate Disclosure: Some of the links in this post are affiliate links, which means I may earn a commission if you click on them and make a purchase. This comes at no extra cost to you. Your support through these links helps me continue to create content for you. Thank you!
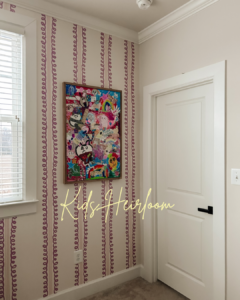
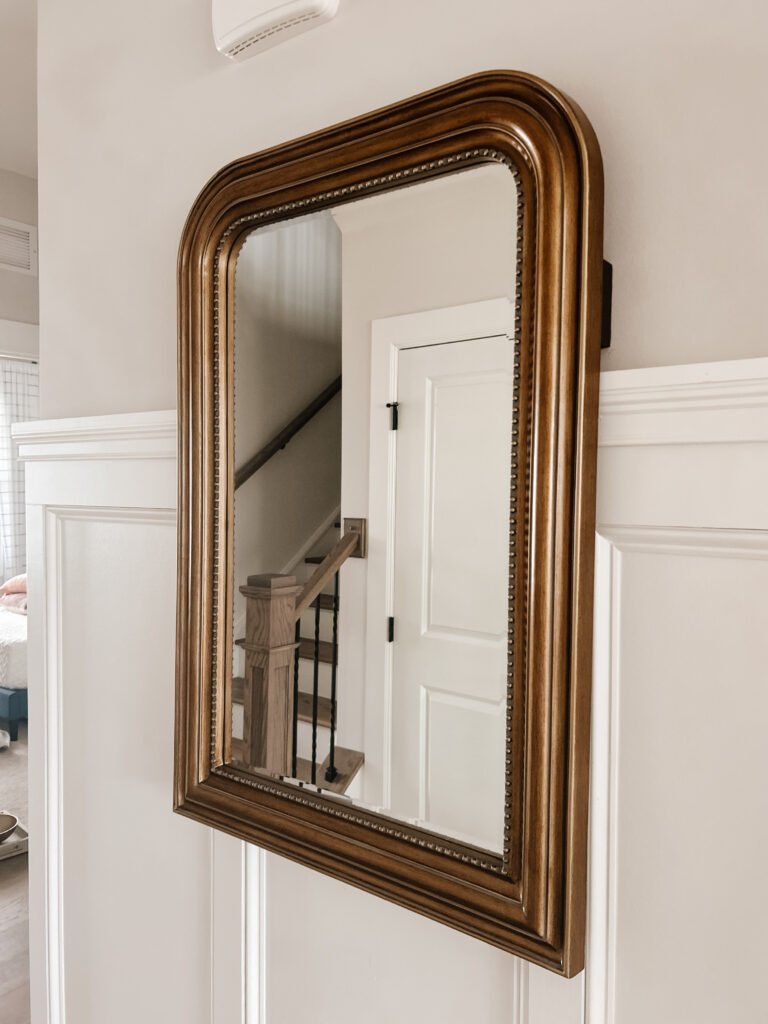
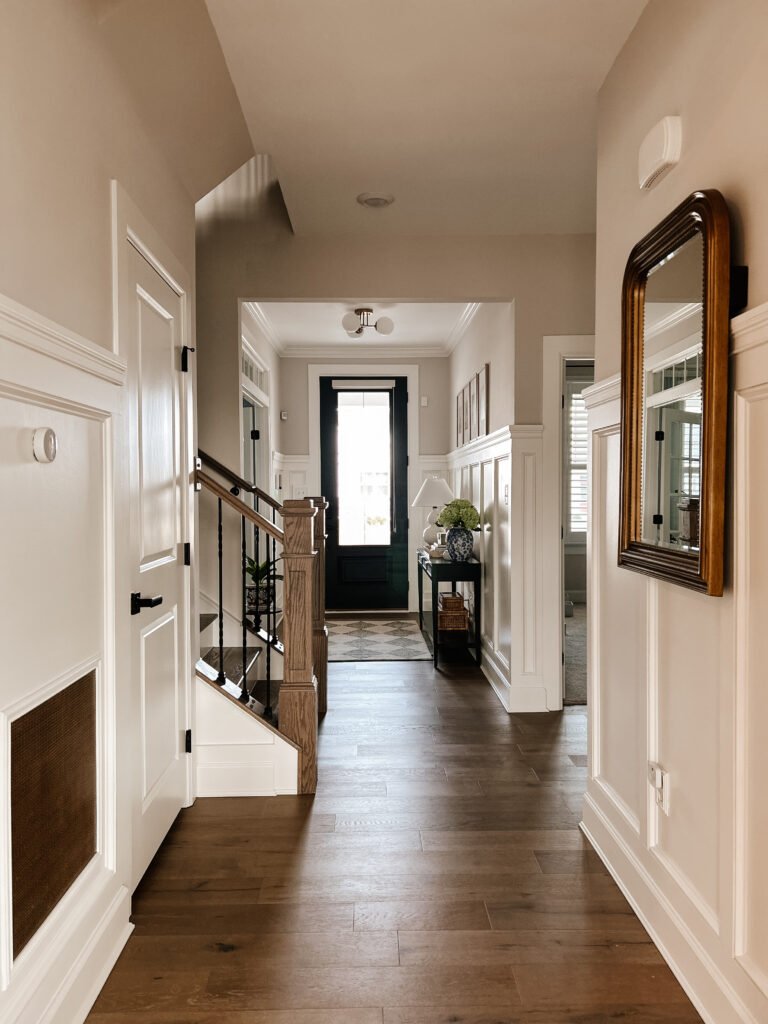
Recently, I decided to hang a heavy mirror over wall paneling in my foyer. The challenge? The paneling has a 1-inch ledge, and I needed to ensure a firm and solid installation. If I had simply hung the mirror over the ledge without any support, it would have been tilted and unstable, making it unsafe. After carefully planning my approach, I found a method that worked perfectly, blending both strength and aesthetics.
Tools and Materials Needed
- 2×4 wood board (cut to the width of the mirror)
- Measuring tape (for accurate placement)
- Sandpaper (for smoothing the edges of the 2×4)
- Dark brown paint (or a color that blends with your wall)
- Paintbrush (for applying paint to the 2×4 ends)
- Drill and drill bits (for making pilot holes)
- Level (to ensure everything is straight)
- Stud finder (to locate the wall stud)
- Stud Buddy (in addition to stud-finding method)
- 3-inch #10 screws (for securing the 2×4 to the stud)
- #10 2.5-inch screws (for attaching the 2×4 to drywall anchors)
- Toggle drywall anchors (for securing the 2×4 on the side without a stud) But seriously… why would you use any other brand?
- Pencil (for marking screw placements)
Step 1: Finding the Studs
Before installing the 2×4, I needed to locate the wall studs for secure mounting. I used two methods:
- Stud Finder: This electronic tool detects the density change in the wall and helps identify the edges of the stud.
- Stud Buddy: A simple magnetic device that finds screws or nails in the drywall, indicating the presence of a stud.
Using these tools, I marked the location of the stud with a pencil to ensure accurate placement of the 2×4.
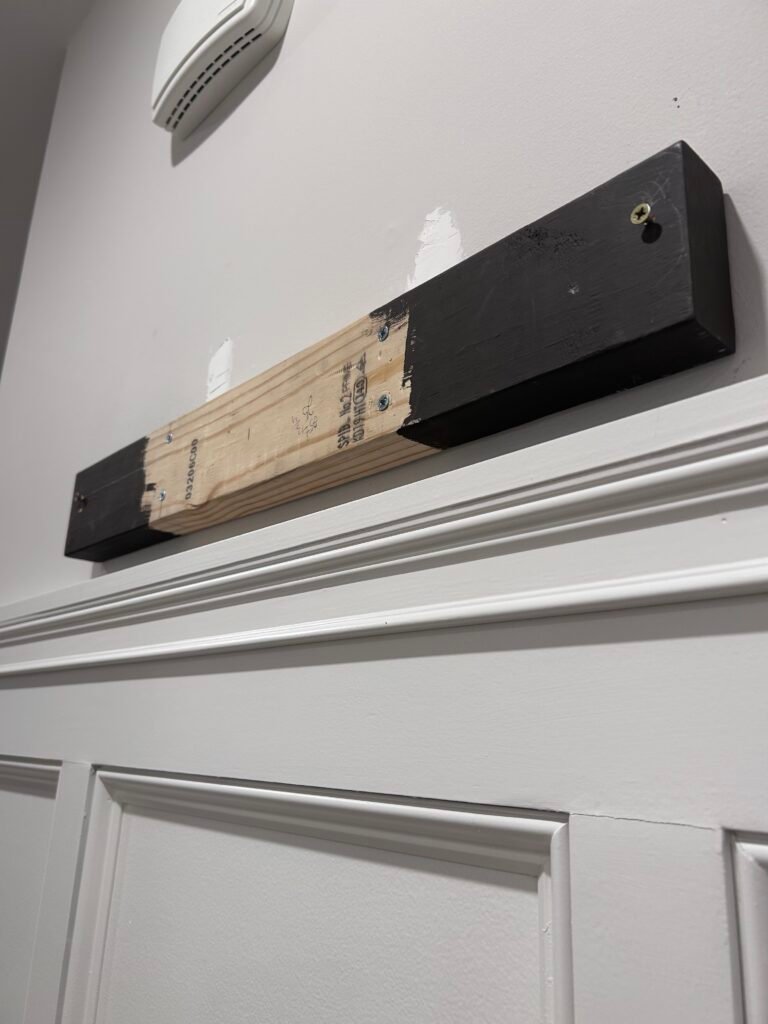
Step 2: Preparing the 2×4 Mounting Board
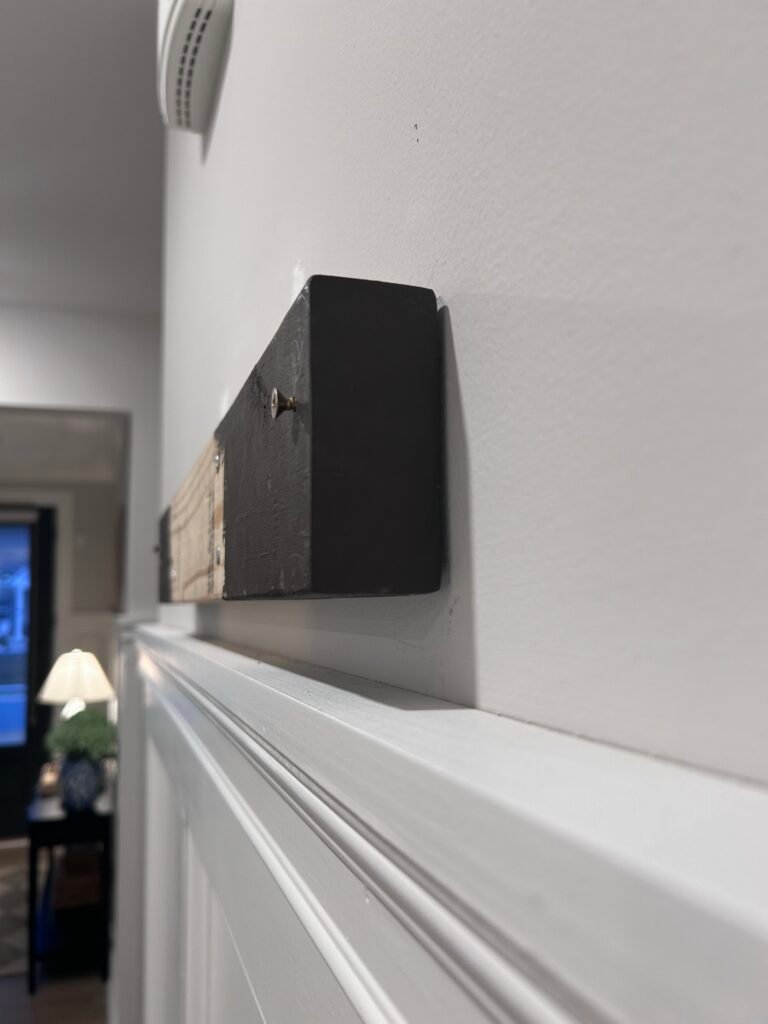
I chose a sturdy 2×4 as my mounting base for the mirror. First, I cut the wood down to match the width of the mirror. Since I wanted a clean and custom look, I then took the time to sand both ends of the board to a smooth finish. After sanding, I painted both ends dark brown. This simple step made a big difference—without the paint, the ends of the 2×4 would have been visible and made the installation look unfinished. With the dark color, the ends blended into the background, giving the mirror a more seamless and custom appearance.
Step 3: Securing the 2×4 to the Wall
The next challenge was securing the 2×4 to the wall. Ideally, I would have attached it to multiple studs, but due to the way my wall studs lined up, I only had one stud to work with on one side of the 2×4. Here’s how I secured it:
- On the side where I had a stud, I used 3-inch #10 screws. These screws were long enough to pass through the 2×4 and drywall, securing firmly into the stud.
- On the opposite side, where there was no stud, I used two of my favorite toggle drywall anchors. To attach the 2×4, I used two #10 2.5 inch screws, which were just long enough to pass through the 2×4 and secure properly into the anchors.
Before screwing in the screws, I made pilot holes in both the 2×4 and the stud. This is a very important step, as it prevents the screw from stripping and ensures a more secure installation.
This combination ensured that the 2×4 was solidly mounted, providing the necessary support for the mirror.
Step 4: The Strength Test
To ensure that the installation was as strong as I needed it to be, I decided to test it out. I hung from the 2×4 myself—and it passed the test with flying colors! The mounting was solid, and I had full confidence in its ability to hold the mirror safely.
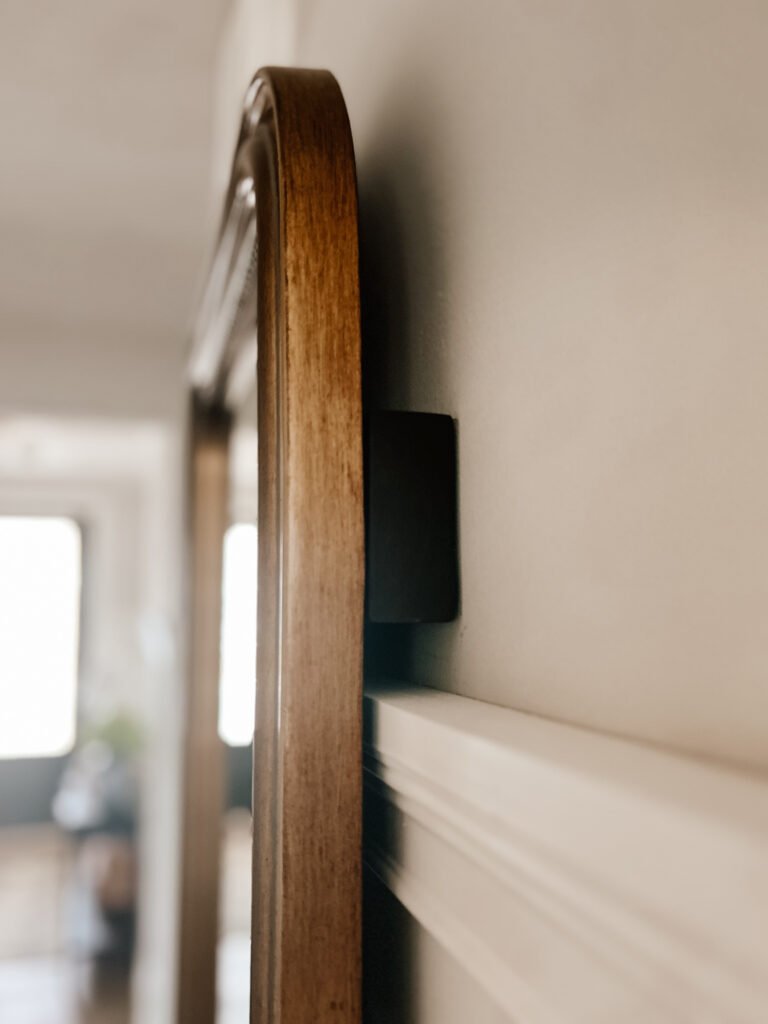
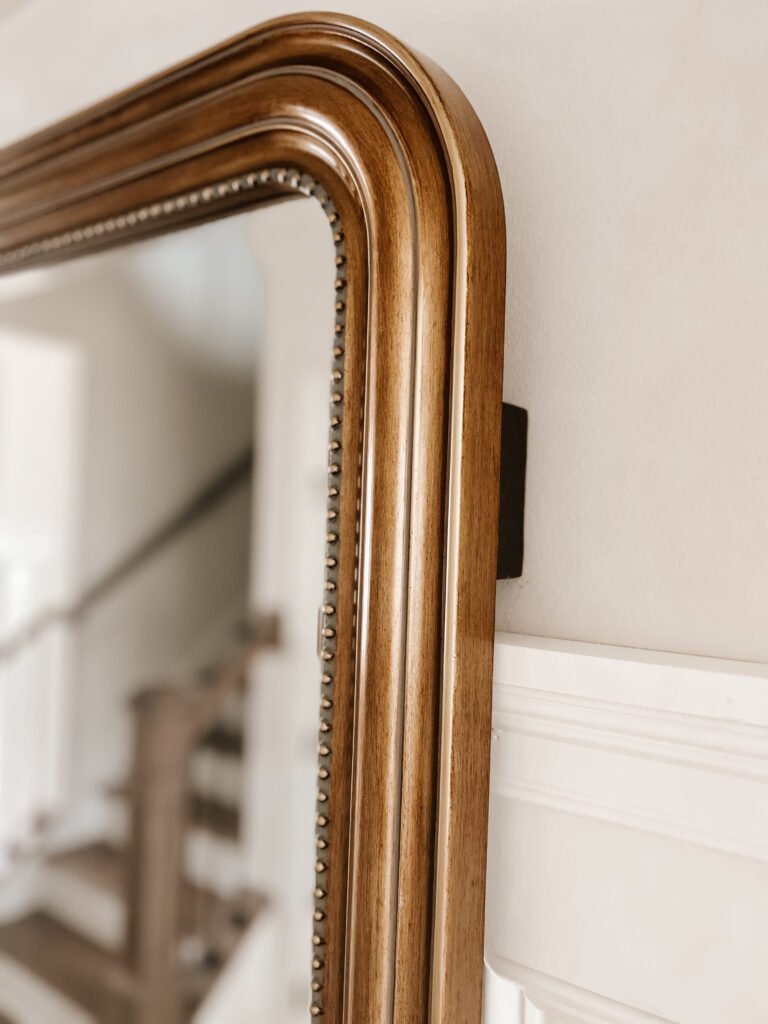
Step 5: Attaching the Mirror
Once the 2×4 was firmly secured to the wall, I aligned the back hooks of the mirror with the appropriate spots on the 2×4. Using a level to make sure the screws are straight, I then inserted them into the 2×4 at those points, making sure they were properly positioned to hold the mirror securely.
Alternative Mounting Method
If you prefer another way to mount your mirror, you can use a French cleat instead of attaching the mirror hooks directly to the 2×4. A French cleat is a two-part interlocking system where one piece is secured to the wall and the other is attached to the mirror. You can purchase a ready-made French cleat, or if you’re handy, you can make your own by cutting a 2×4 at a 45-degree angle lengthwise and securing one half to the wall and the other to the mirror. This method allows for easy removal and repositioning of the mirror while still providing strong support.
Safety Considerations
When working with heavy objects and power tools, safety should always come first. Here are some key precautions to keep in mind:
- Wear Safety Gear: Use safety goggles to protect your eyes from dust and debris when drilling or sanding.
- Check Weight Limits: Ensure that the screws, anchors, and mounting hardware can support the weight of your mirror.
- Use a Sturdy Ladder: If you need to work at height, use a stable ladder and have someone spot you for extra security.
- Avoid Electrical Wires: Before drilling, be mindful of electrical wiring inside the wall. Use a wire detector to check for any hidden wires.
- Secure the Work Area: Keep tools and materials organized to prevent tripping hazards while working.
Final Thoughts
This method not only ensured a strong and reliable installation but also maintained a clean and professional appearance. The painted edges of the 2×4 helped it blend seamlessly into the background, making the mirror look like it was floating effortlessly on the wall. If you’re looking for a way to securely mount a heavy mirror or wall art over paneling, this technique is definitely worth considering!