As a DIY enthusiast, I’m always looking for ways to upgrade my space with minimal effort and cost. Recently, I decided to give a little TLC to the return air vent in my foyer. The existing vent was old, plain, and really didn’t do much to enhance the overall aesthetic of our foyer. Instead of just replacing it with another boring vent, I came up with a fun and simple solution to add character to the space without breaking the bank.
See the makeover here
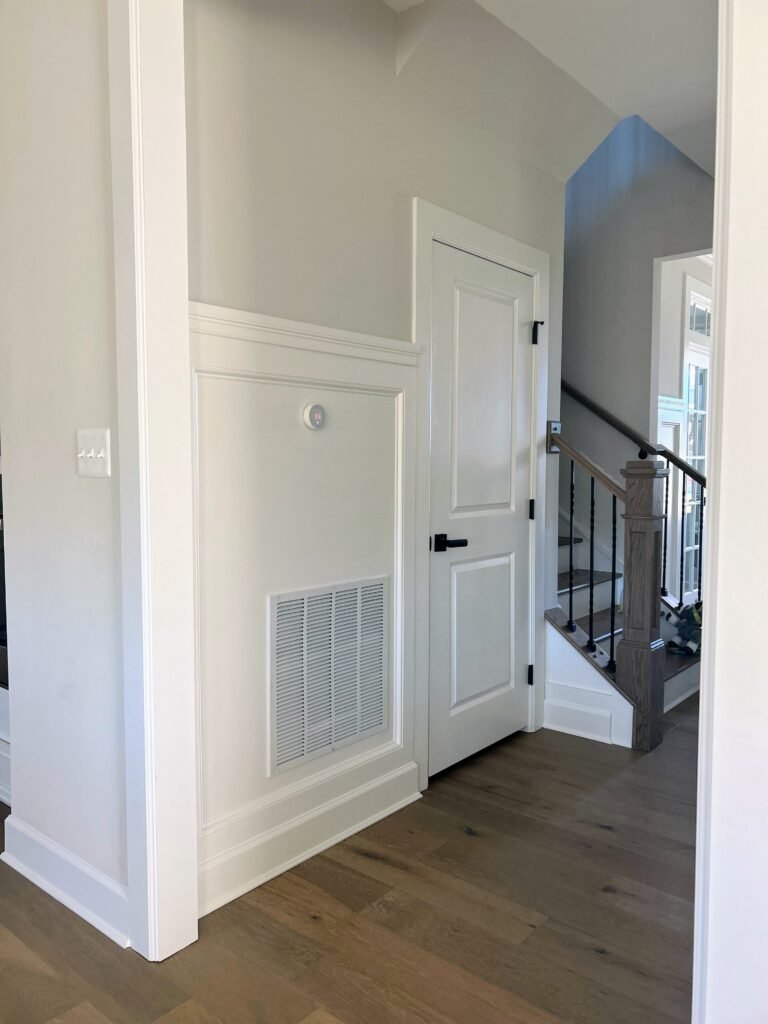
Step 1: Remove the Old Vent
The first step in this project was removing the old vent. It was screwed in and caulked, so it took a bit of muscle to get it off. Since my HVAC system has filters located directly at the unit and not at the return vent, I didn’t have to worry about adding a filter to the new vent. This made the swap a lot easier and more straightforward.
Step 2: Get Creative with a Decorative Metal Sheet
Instead of purchasing another boring standard vent, I decided to make the new one stand out. I headed to Home Depot and picked up a decorative metal sheet. This would be the perfect base for my new return air vent.
Before cutting, I made sure to trace the exact size of the existing vent so I could be certain the new sheet would cover the return air hole. It’s important to measure carefully here so you don’t end up with gaps or an awkward fit. Once I had the metal sheet ready, I used metal shears to cut it to size.
Step 3: Add Elegant Trim
To really elevate the look, I decided to frame the metal sheet with trim. This step is optional, but I wanted a more polished, well-manicured appearance that would fit seamlessly into the style of my foyer. I purchased trim that would surround the metal sheet and give it a clean, elegant look.
I used the same color trim as the paint on my walls and paneling – Benjamin Moore Simply White. This kept everything cohesive and bright, giving the space a fresh, sophisticated vibe. The trim helped to dress up the metal sheet and made it feel more like an intentional design element rather than a functional feature.
Step 4: Install the New Vent
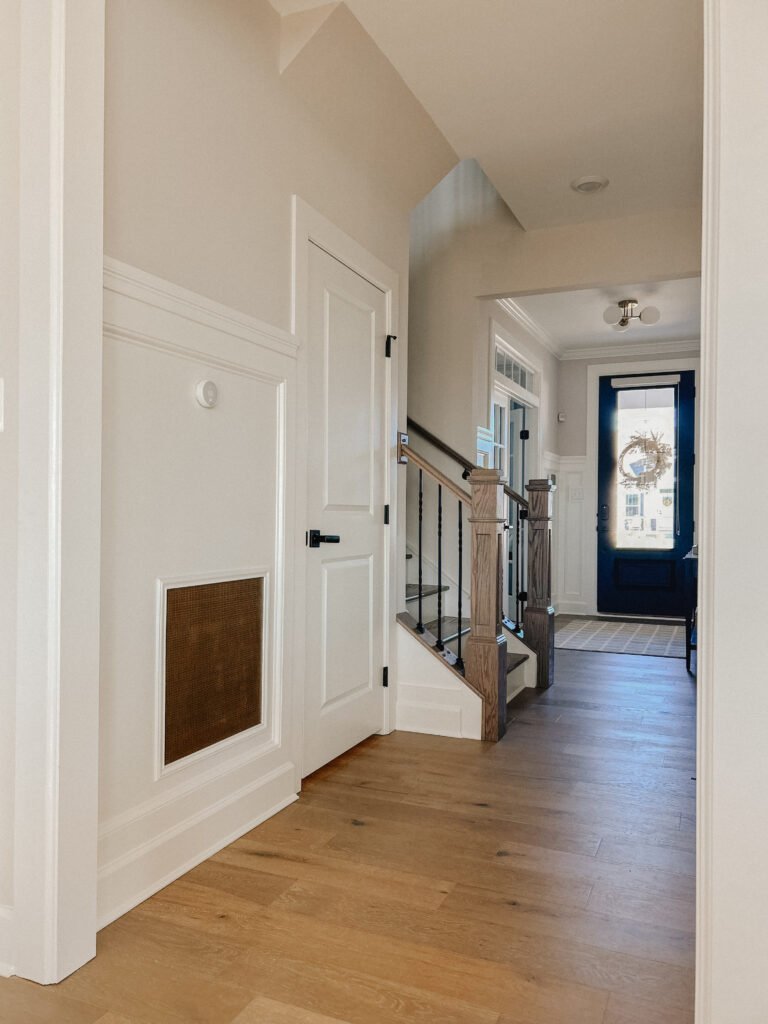
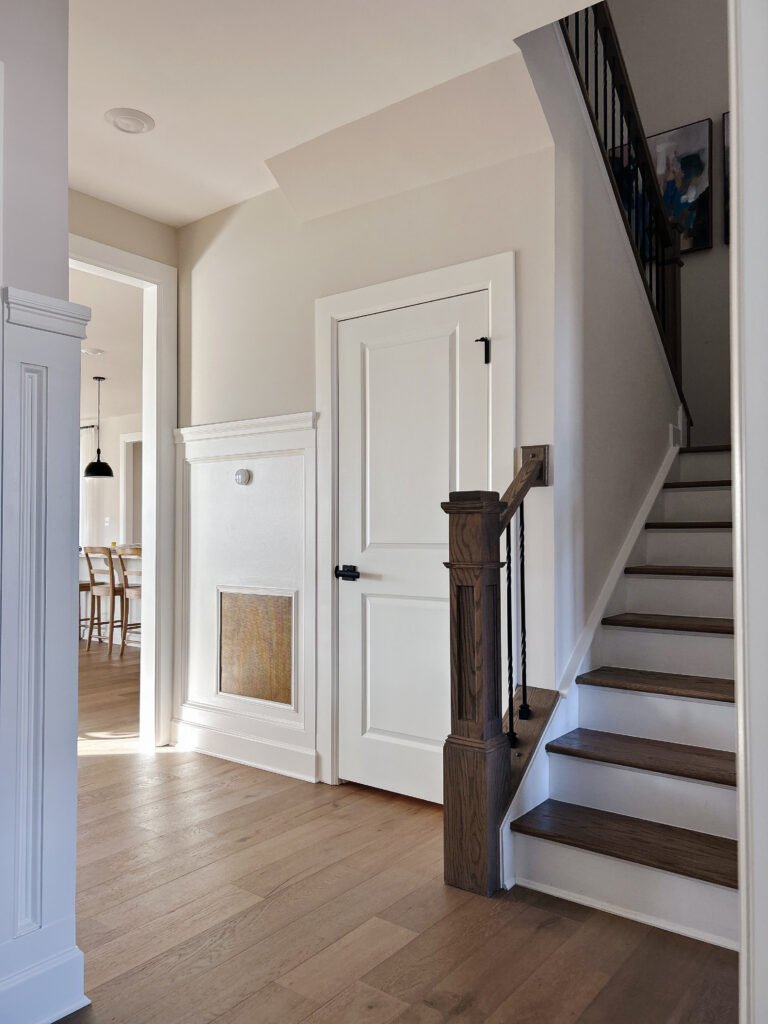
Once everything was cut, painted, and ready, I installed the metal sheet in place of the old vent using a staple gun. After that, I nailed the trim to the wall, framing the decorative metal sheet. To make it look extra clean and seamless, I caulked around the trim to fill any gaps. The trim really pulled everything together, giving it that perfect, polished finish. I couldn’t be more thrilled with the result. The new vent looks sleek, timeless, and way more stylish than the plain one it replaced.
Why I Did This Project
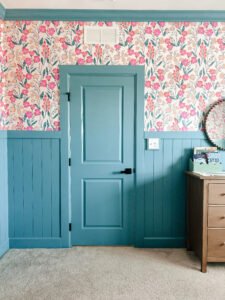
This was a super easy and budget-friendly project that completely transformed the look of my foyer. Just recently, I updated the space by adding recessed paneling, so I wanted the return air vent to complement the fresh look. My main goal was to replace the boring, plain vent with something that added character and style to the space. By using a decorative metal sheet and adding some trim, I was able to turn it into a statement piece rather than just a functional element.
Additionally, since my HVAC system already uses filters at the unit, I didn’t need to worry about adding a filter to the return vent – something I had to keep in mind as I wanted to avoid disrupting airflow or the unit’s efficiency.
Final Thoughts
If you’re looking for a simple way to make a big impact in your home, this is a project I highly recommend. It’s inexpensive, easy to do, and can be completed in a single day. Plus, it’s a fantastic way to inject a little personality and style into an otherwise overlooked part of your home. I love how this small change has already made such a huge difference in the overall look and feel of my foyer. If you’re in need of a quick, affordable upgrade, this DIY vent makeover might just be the perfect solution!
Let me know if you decide to give it a try, and feel free to share your creations!
Pro Tips for a Polished Look
While this project is simple, there are a few tips to ensure it looks professional:
- Use a level: When you’re installing the new vent, use a level to ensure it sits straight. A crooked vent, even a little off, can be noticeable.
- Touch up the trim: After the trim is installed, go over the edges with a fine brush and some extra paint to touch up any spots that might have been missed. This little step ensures everything looks clean and well-finished.
- Pre-painting the trim: If you’re painting the trim, consider doing it before attaching it to the metal sheet to avoid any drips or streaks on the vent itself.
What You’ll Need:
Before diving into your own vent makeover, here’s a quick checklist of the materials I used:
- Decorative metal sheet – I got mine from Home Depot. They have several designs to match your home’s aesthetic.
- Metal shears – These are key for cutting the sheet to size. Make sure to protect your hands by wearing gloves.
- Staple gun– This was an easy way to install the metal sheet
- Trim pieces – You can pick up some simple wood trim to frame the vent.
- Nail gun – To install the trim around the metal sheet.
- Paint and caulk – For the trim to match your existing design.
- Measuring tape and pencil – To trace and measure your existing vent.
Cost Breakdown:
One of the best parts of this project is how affordable it is. Here’s a rough breakdown of the cost:
- Decorative metal sheet: $30
- Trim: $10
- Metal shears: $15 (if you don’t already have them)
This whole project cost around $60, which is an amazing value for such a beautiful transformation.
The Benefits of Customizing Your Vents
Not only does a custom return air vent look gorgeous, but it can also help:
- Increase home value: Small upgrades like this can make your home feel more personalized and well-maintained, which can help boost its market appeal.
- Improve air circulation: If you choose a decorative metal sheet with a pattern that doesn’t restrict airflow, it can still allow your HVAC system to function efficiently while adding style.
- Reflect your style: A simple, functional vent becomes a subtle yet impactful design element that reflects your personal taste.
Before & After Photos
Stay Tuned for More DIY Projects!
This small project was just the beginning – keep following for more easy, budget-friendly DIY home improvements. You can see my Instagram reel here. I’m always working on new ways to make our living spaces more beautiful and functional. From simple upgrades to full-room makeovers, I’ve got lots of ideas to share!
Affiliate Disclosure: Some of the links in this post are affiliate links, which means I may earn a commission if you click on them and make a purchase. This comes at no extra cost to you. Your support through these links helps me continue to create content for you. Thank you!