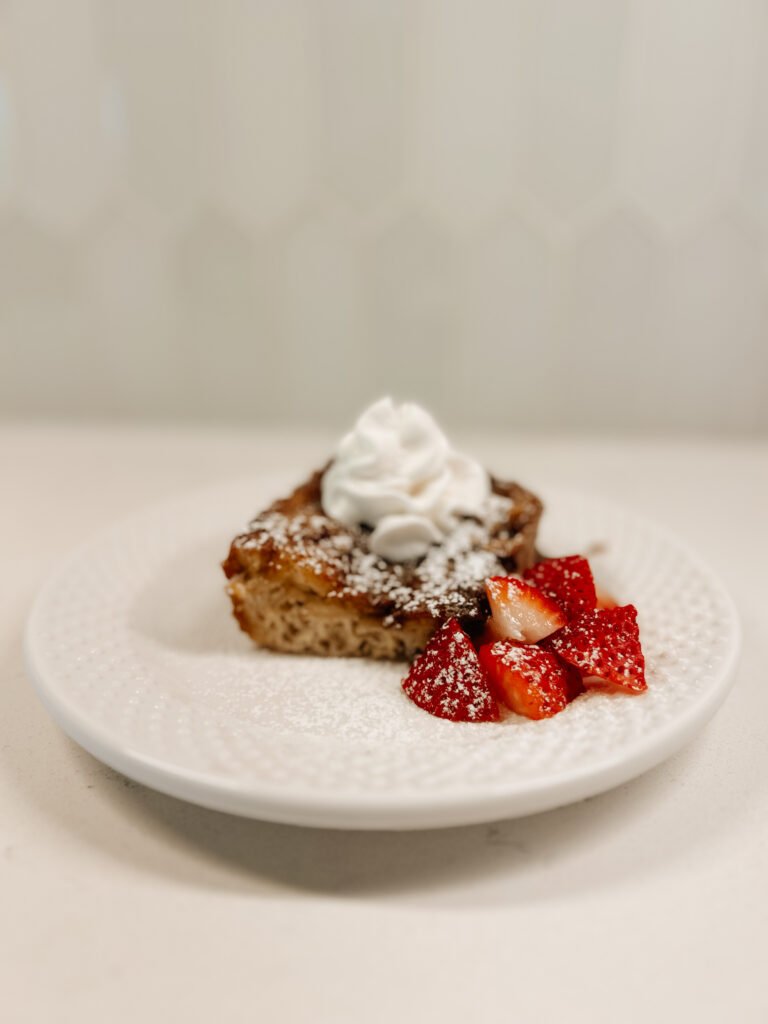
If you’re looking for the perfect comfort breakfast dish that’s both indulgent and incredibly easy to make, this Loaded French Toast is exactly what you need. This is the chewiest, gooiest French toast casserole I have ever had. It has become a beloved family tradition in my home every Easter morning. The combination of crispy, golden-brown edges and a soft, custardy center makes every bite irresistible.
This dish is more than just breakfast—it’s a part of our family’s holiday memories. Every Easter morning, my children wake up with excitement, eager to see what the Easter Bunny has brought them. They race down the stairs, rummaging through their baskets and hunting for hidden eggs. While they enjoy their morning traditions, I take the casserole out of the fridge, letting it come to room temperature as the oven preheats. By the time their excitement starts to settle, the warm, sweet aroma of cinnamon and vanilla begins to fill the house as the casserole bakes, signaling that breakfast is almost ready.
The key to achieving the texture is refrigerating the dish overnight or for at least four hours. I like to prepare it the night before so that in the morning, all I have to do is preheat the oven and let the casserole sit at room temperature while the kids hunt for Easter eggs and open their baskets. By the time they’re done, the oven is at 350°F, and the dish is ready to bake.
As we gather around the table, this dish becomes more than just a meal—it’s a tradition, a moment of togetherness, and a recipe my children will one day make for their own families. The taste of warm, buttery, cinnamon-spiced bread with its caramelized topping is something they will always associate with Easter and Christmas mornings, bringing back memories of laughter, joy, and holiday magic.
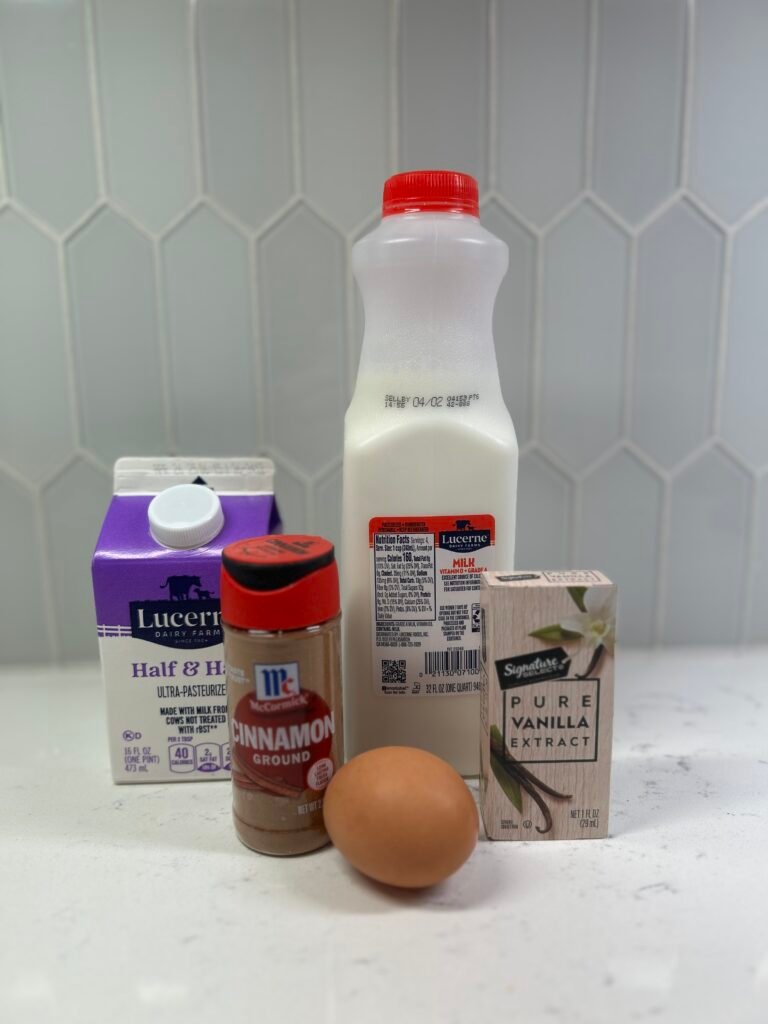
Ingredients:
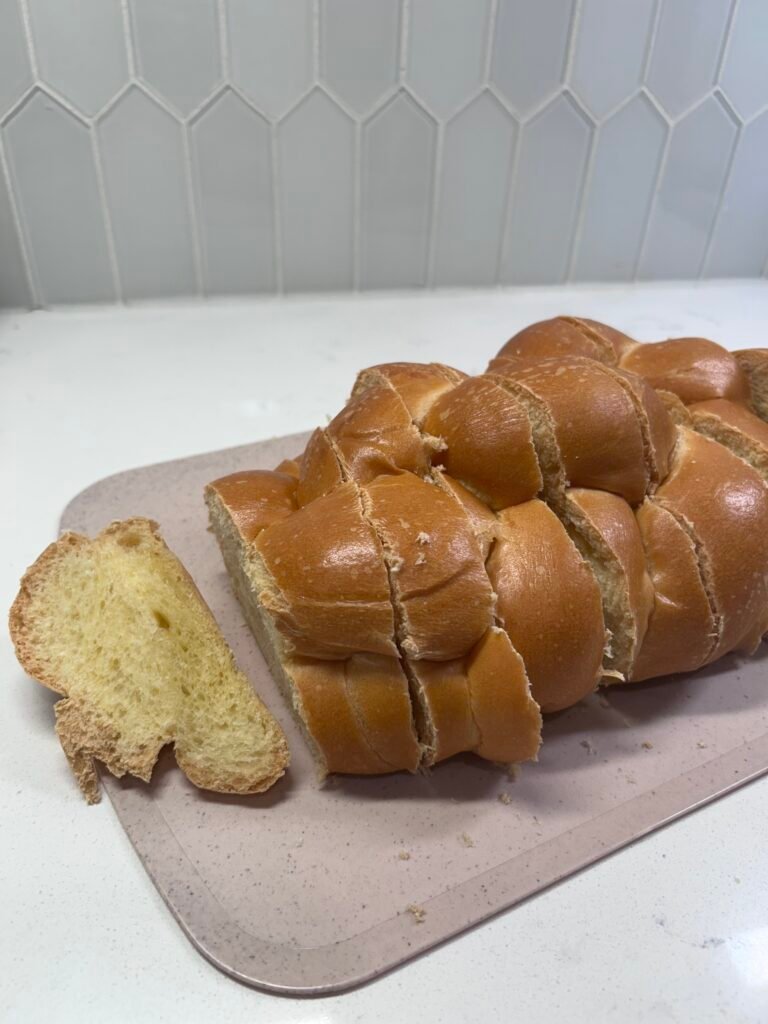
- 1 loaf of challah bread, cut into 1-inch slices
- 6 large eggs
- 1/2 cups whole milk
- 1 cup half & half
- 1 tsp vanilla extract
- 1 tsp cinnamon
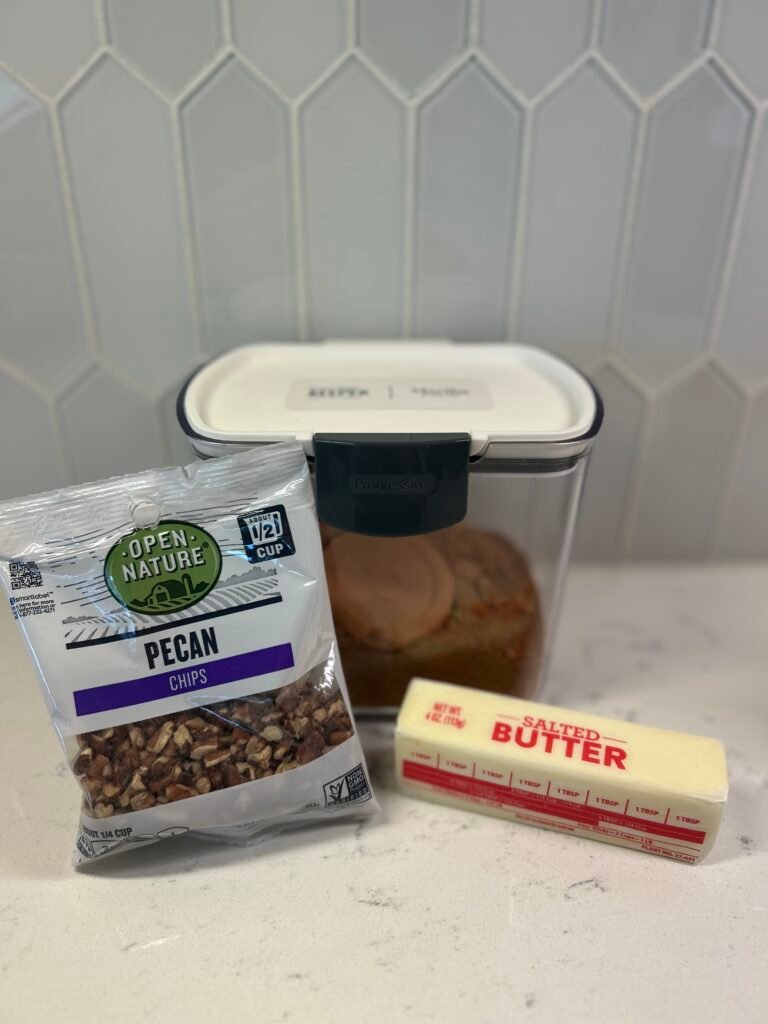
- 6 tbsp salted butter
- 3/4 cup light brown sugar
- 3/4 cup chopped pecans
- Powdered sugar for serving
Instructions:
- Prep the Bread: Grease a baking dish (I usually use a glass Pyrex, but a metal pan works too if you prefer a crispier texture). Layer the challah slices in the dish.
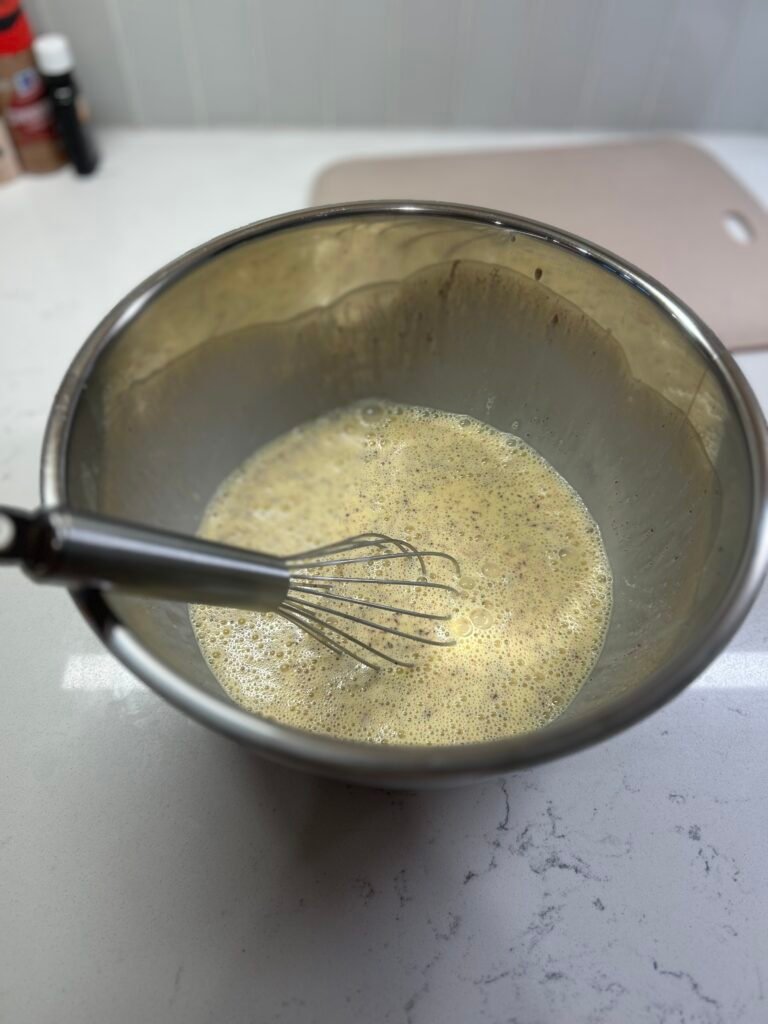
- Make the custard: In a large bowl, whisk together eggs, milk, half & half, vanilla extract, and cinnamon until well combined.
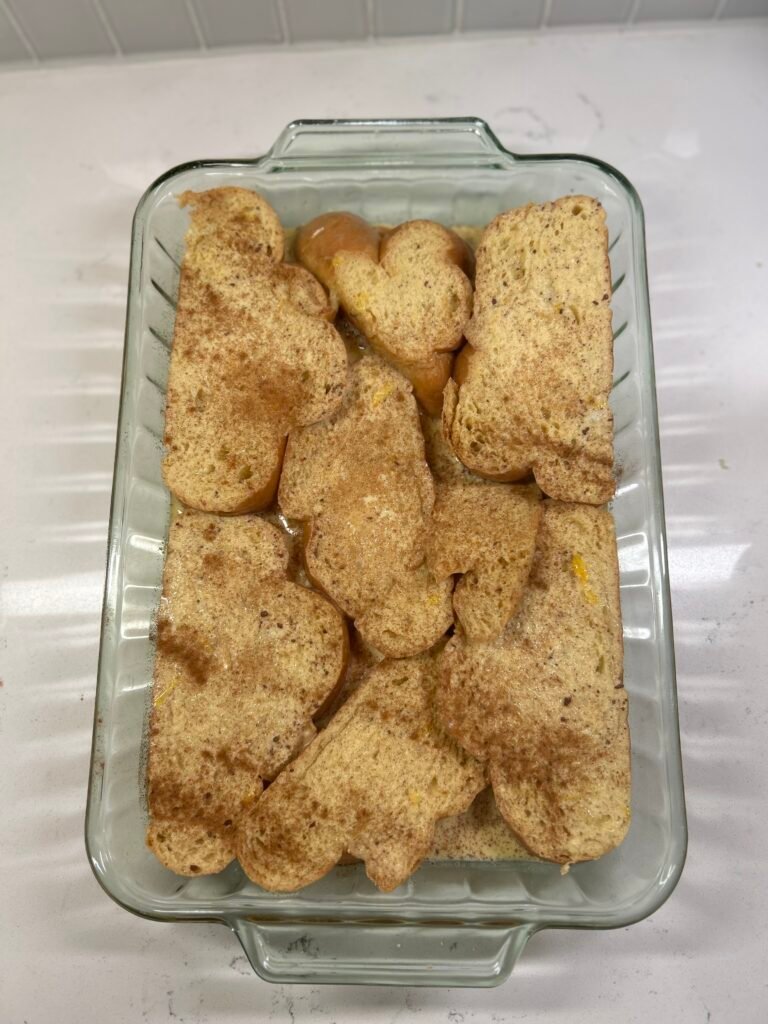
- Soak the Bread: Pour the custard mixture over the challah slices, ensuring every piece is coated. Cover and refrigerate overnight or for at least four hours.
- Prepare for Baking: In the morning, take the casserole out of the fridge and let it sit at room temperature while the oven preheats to 350°F (175°C).
- Bake: Bake for 30-40 minutes, or until the top is golden brown and the center is set.
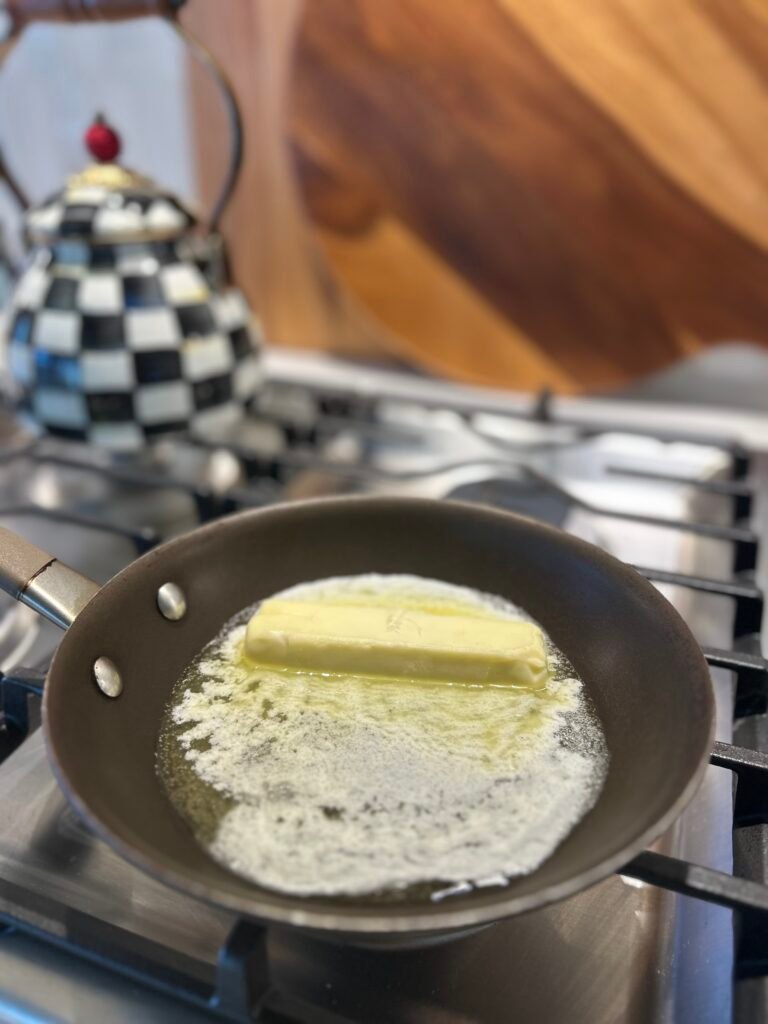
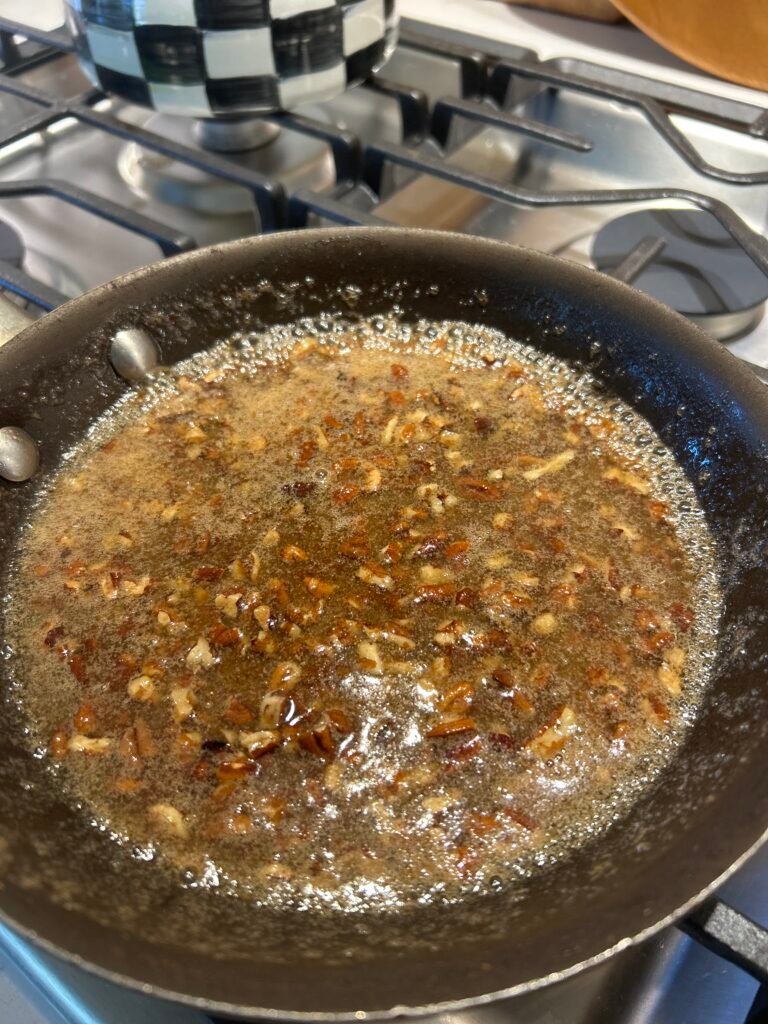
- Make the Topping: Once the French toast is done; in a small pan, melt butter, then mix in brown sugar and pecans. Continue mixing. Within minutes this creates a syrupy topping that you’ll drizzle over the bread after baking.
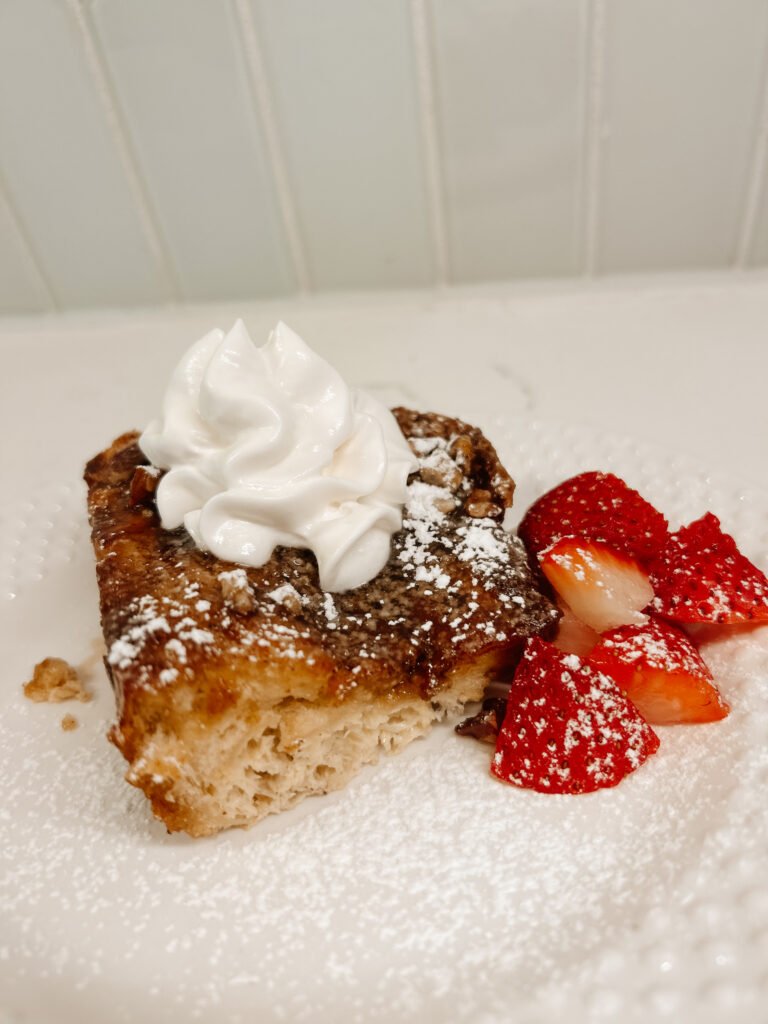
- Serve: Dust with powdered sugar after plating. No syrup is needed—this dish is perfectly sweet and flavorful on its own!
Why This Recipe Is the Absolute Best!
Challah bread is the star of this dish. Its slightly sweet, fluffy texture absorbs the custard beautifully, making the final dish incredibly soft and chewy with a crispy, caramelized crust. The brown sugar-butter-pecan topping turns into a rich, syrupy glaze, creating the perfect balance of sweet, crunchy, and slightly salty flavors.
This dish is not just for Easter—it’s also perfect for Christmas morning! While the kids are opening presents under the tree, you can pop this in the oven for a warm and comforting holiday breakfast. I love serving it with crispy bacon or breakfast sausage and fresh seasonal fruit.
One bite of this Loaded French Toast, and you’ll feel like you’ve gone to heaven. It melts in your mouth with a perfect combination of sweet, chewy, crunchy, and buttery flavors. More than just a dish, it’s a tradition that fills our home with warmth, love, and the sweetest holiday memories. Give it a try, and let me know how it turns out!