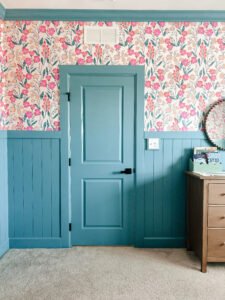
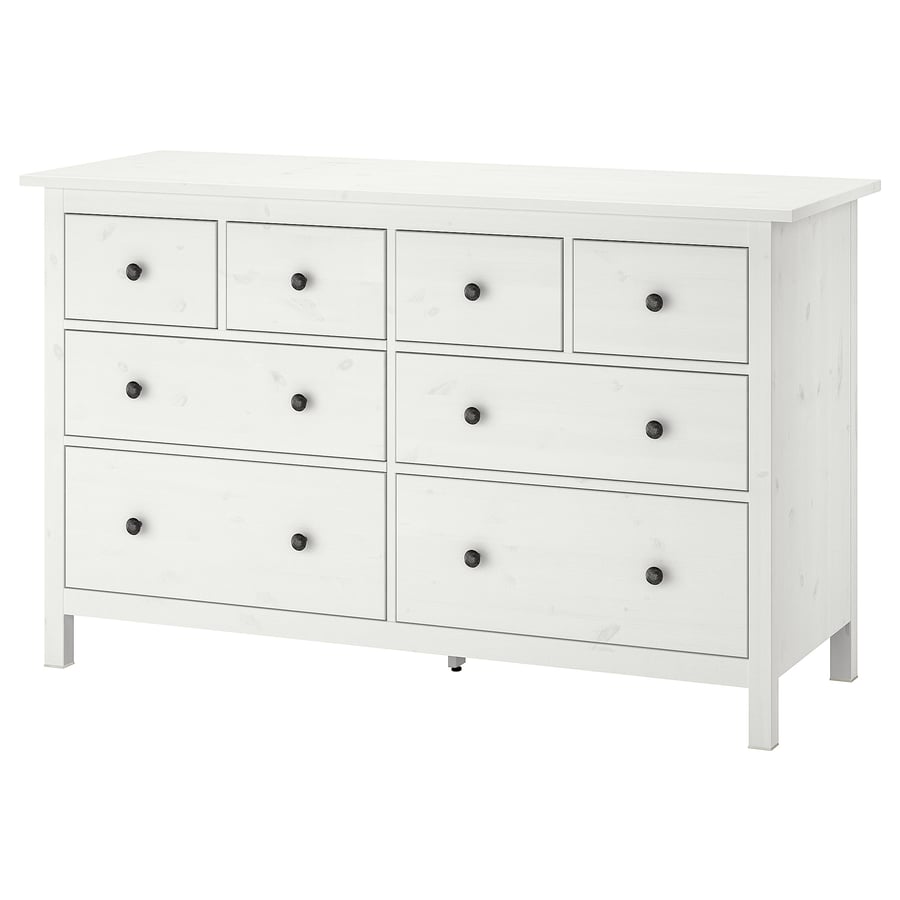
If you have an IKEA Hemnes dresser in your home, you’re not alone. It seems like this classic piece finds its way into nearly every household. It’s affordable, functional, and has a timeless design that fits into almost any decor style. However, while the white Hemnes dresser is a great staple, sometimes you crave a bit more personality and warmth in your furniture. That’s exactly why I decided to give mine a complete makeover using liquid wood—and let me tell you, the results were absolutely stunning!
Why Liquid Wood?
I had been eyeing a few wooden dressers, but let’s be real—solid wood furniture can be pricey. Instead of replacing my perfectly functional Hemnes dresser, I decided to explore a more budget-friendly and creative solution: liquid wood from Retique It.
What is liquid wood? It’s a fantastic product that allows you to transform painted, laminated, or outdated furniture into a piece that looks and feels like real wood. Unlike traditional wood stains that simply color an existing surface, liquid wood is made with real wood fibers, so it creates a realistic grain and texture. It’s a game-changer for DIY enthusiasts who want to achieve that authentic wooden look without the hassle of stripping, sanding, or replacing furniture.
I was excited to try it because it meant I could give my dresser the charm of wood without having to deal with sawdust, heavy-duty tools, or a complicated refinishing process. Plus, Retique It offers over 20 stain color options, giving you plenty of choices to customize your furniture to match your space perfectly.
The Process: From Plain White to a Warm, Natural Beauty
For this project, I followed a simple yet effective layering process using multiple coats of different products to create depth, texture, and a realistic wood-like finish. Here’s how I did it:
Step 1: Prepping the Dresser & Applying Light Wood N’ Primer
Before applying the primer, it was essential to prep the dresser properly to ensure the best adhesion and durability.
- Cleaning the Surface: I started by wiping down the dresser with soapy water to remove dust, dirt, and any oils from handling.
- Using Denatured Alcohol: Next, I wiped the surface down with denatured alcohol to remove any residues that might prevent the primer from adhering properly.
- Final Wipe with Water: Lastly, I did a final wipe-down with clean water to ensure that no cleaning product residue was left behind.
Once the dresser was completely dry, I applied two coats of Light Wood N’ Primer from Retique It. This product acts as both a base coat and a bonding primer, allowing the following layers to adhere properly. It also sets the stage for the realistic wood grain effect that I would enhance later.
To create an authentic grain look, I used a high-quality brush and applied the primer in long, even strokes. If you want an even more intricate wood grain effect, Retique It also has wood grain tools that allow you to create knots and unique grain patterns for an ultra-realistic look. While I opted for a cleaner wood grain appearance, this is a great option if you love the look of reclaimed wood. See the entire process here
Step 2: Building Depth with Pecan Smooth Stain – The Magic of Liquid Wood
Once the primer layer was completely dry, it was time for my favorite part—the staining process! I chose Pecan Smooth Stain, a warm, rich color that added immediate depth and character to the dresser.
This is where the magic of liquid wood truly came to life.
With every brushstroke, the liquid wood began to mimic the natural beauty of real wood grains. It was almost as if the product itself had a mind of its own, revealing the organic textures and variations of real wood as the stain settled in. The brush strokes interacted beautifully with the primer, enhancing the natural wood grain effect that I had started in the first step.
It felt so satisfying watching my plain white dresser transform before my eyes! I applied three coats of the Pecan stain, allowing each layer to dry in between. The deeper the layers, the richer and more dimensional the wood effect became.
Pro Tip: Use long, steady strokes while applying the stain. This helps emphasize the grain effect and prevents unwanted streaking. Also, if you want more pronounced wood grain details, you can lightly drag a dry brush over the stain while it’s still wet to enhance the natural texture.
Step 3: Adding Barnwood for a Balanced Look
While I loved the warmth of the Pecan stain, I wanted to add a bit of contrast to keep the finish from feeling too warm. That’s where a final coat of Barnwood stain came in.
This stain had cool undertones, which helped neutralize some of the warmth from the Pecan stain, creating a balanced, natural finish.
The result?
- A perfect harmony of warm and cool wood tones, making the dresser look authentic and high-end.
- The Barnwood stain softened the overall look, giving the finish a professional, elegant appearance.
This combination of stains gave me the exact wood tone I was hoping for—not too warm, not too cool, but perfectly natural-looking.
Step 4: Sealing with a Matte Topcoat
After all the layers had dried, I applied a matte topcoat to lock in the finish and protect the dresser from daily wear and tear.
The matte sheen was the perfect choice because:
✔ It kept the finish looking realistic and natural.
✔ It avoided the overly shiny, artificial look that some topcoats can create.
✔ It provided long-term durability while maintaining a smooth, professional look.
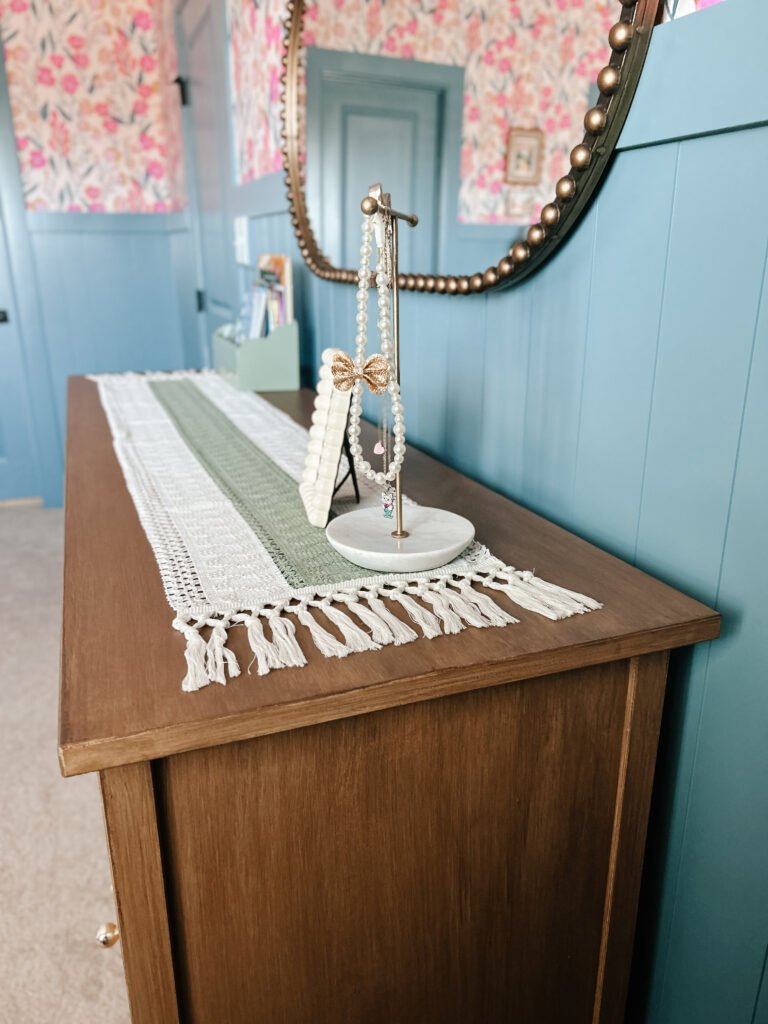
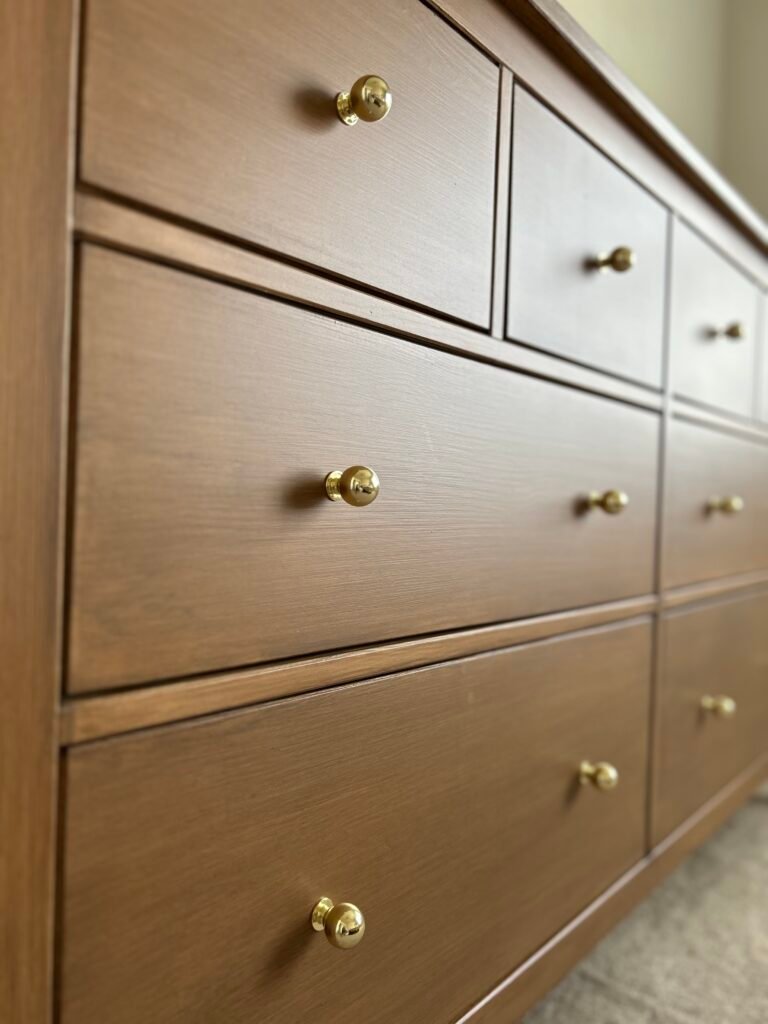
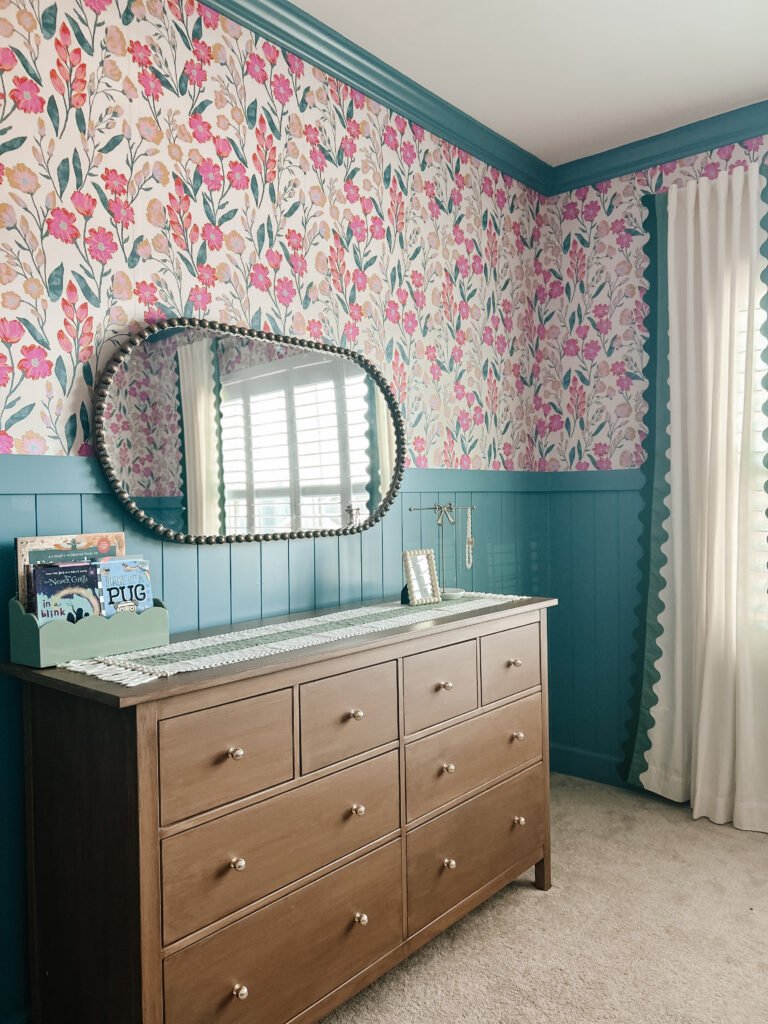
Once the topcoat dried, I added beautiful gold knobs and then my once-basic IKEA dresser looked like a high-end, solid wood furniture piece!
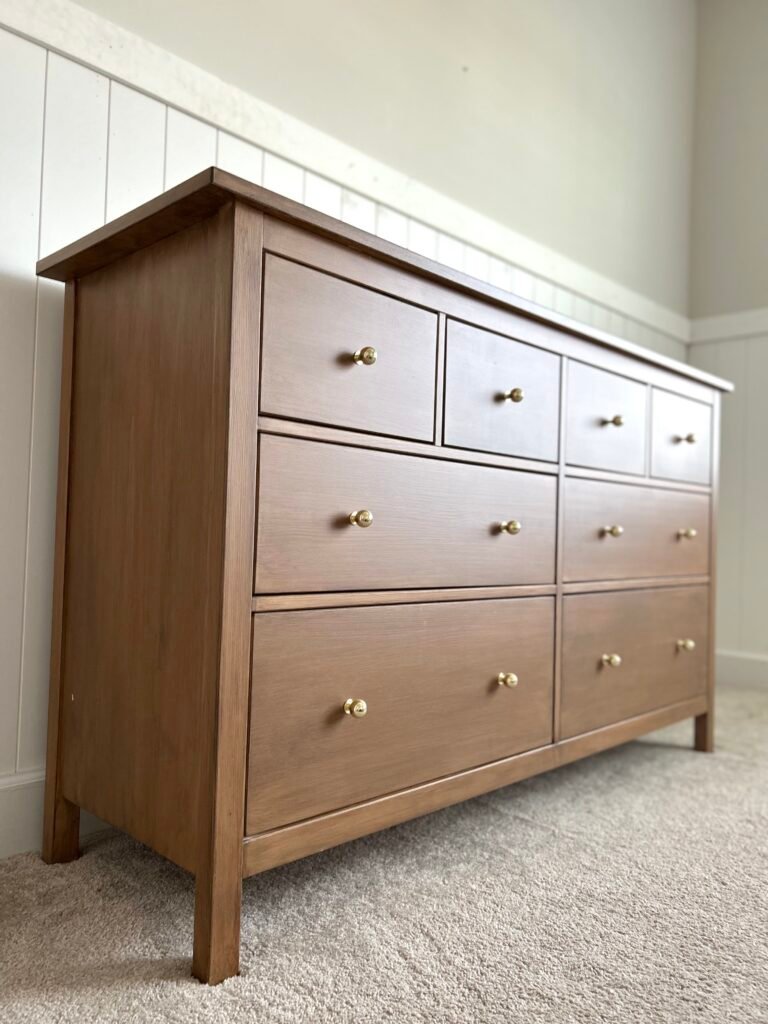
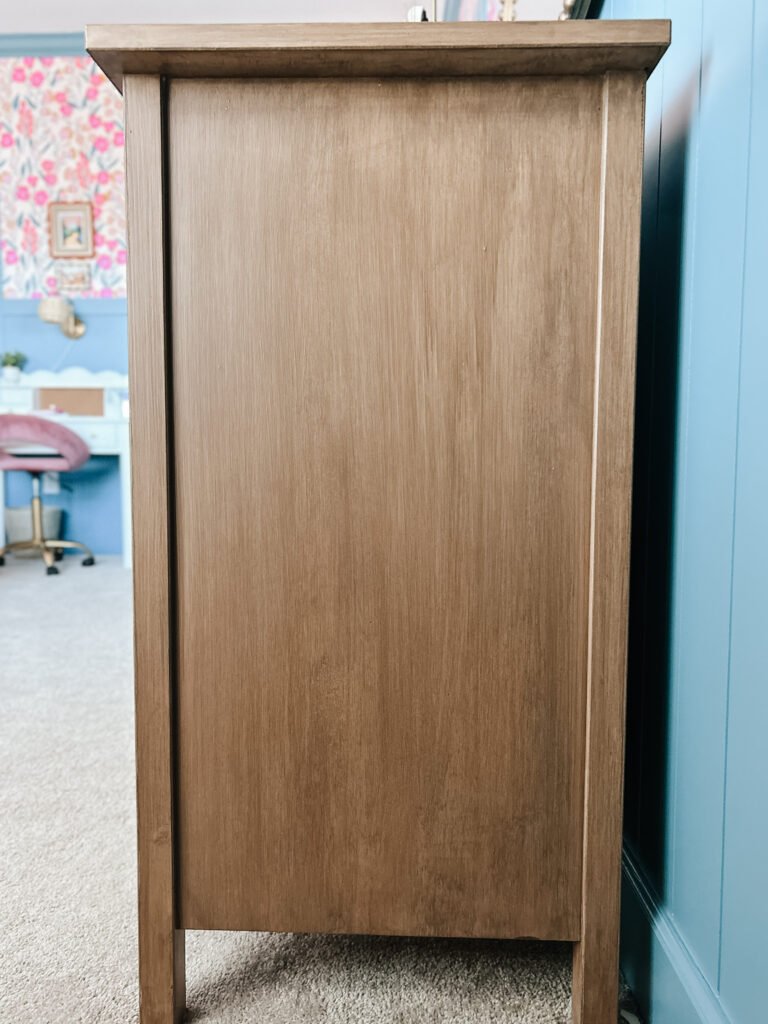
The Final Result: A Stunning, Realistic Wood-Like Finish
After all the layers had dried, I took a step back and admired the final result.
My plain white Hemnes dresser had transformed into a warm, inviting, and sophisticated piece. The combination of Pecan and Barnwood stains gave it depth and character, making it look like real wood. The matte topcoat sealed everything beautifully, giving the dresser a high-end, handcrafted feel.
The best part? Instead of spending hundreds (or thousands) on a new wood dresser, I was able to repurpose and elevate a piece I already owned—all with Retique It Liquid Wood and a bit of DIY magic!
Final Thoughts: Why You Should Try Liquid Wood
If you’re looking to upgrade a piece of furniture without replacing it, I highly recommend trying liquid wood from Retique It.
It allows you to transform any surface into a realistic wood finish—no sanding or stripping required. With over 20 stain color options, you can customize the exact wood tone to fit your decor style. Whether you prefer warm, cozy wood tones or cool, modern hues, you can create the perfect look for your space.
This was a fun, budget-friendly, and rewarding DIY project that completely changed the look of my dresser.
If you have a white Hemnes dresser sitting in your home and you’re craving a change, give this liquid wood makeover a try. You might just find yourself falling in love with it all over again!